Hey @nick!
Thanks for the experimentation. It’s an interesting idea compressing the maximum of the inverse rgb ratios instead of the rgb ratios independently. (By the way, the maximum of the inverse rgb ratios is identical to saturation in the IHLS colorspace that I mentioned a while back which actually helped me figure out this method) .
The “jedsmith” RGB gamut mapper does modify both negative color components if that rgb triplet falls in an “overlap area” - like an area where blue and green distances are being affected by the compression.
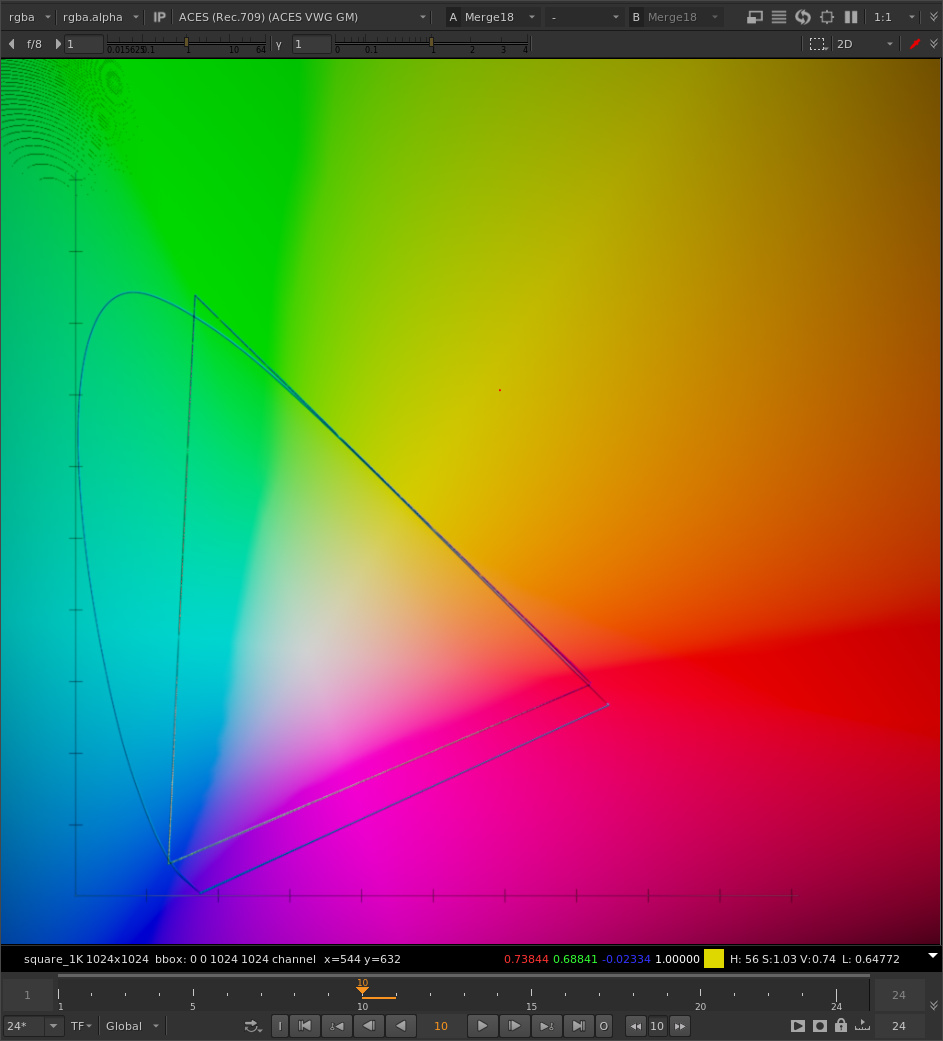
For example, here’s the old chromaticity diagram with rgb values of ACEScg that I’ve been using to visualize this problem. Here with no gamut compression applied.
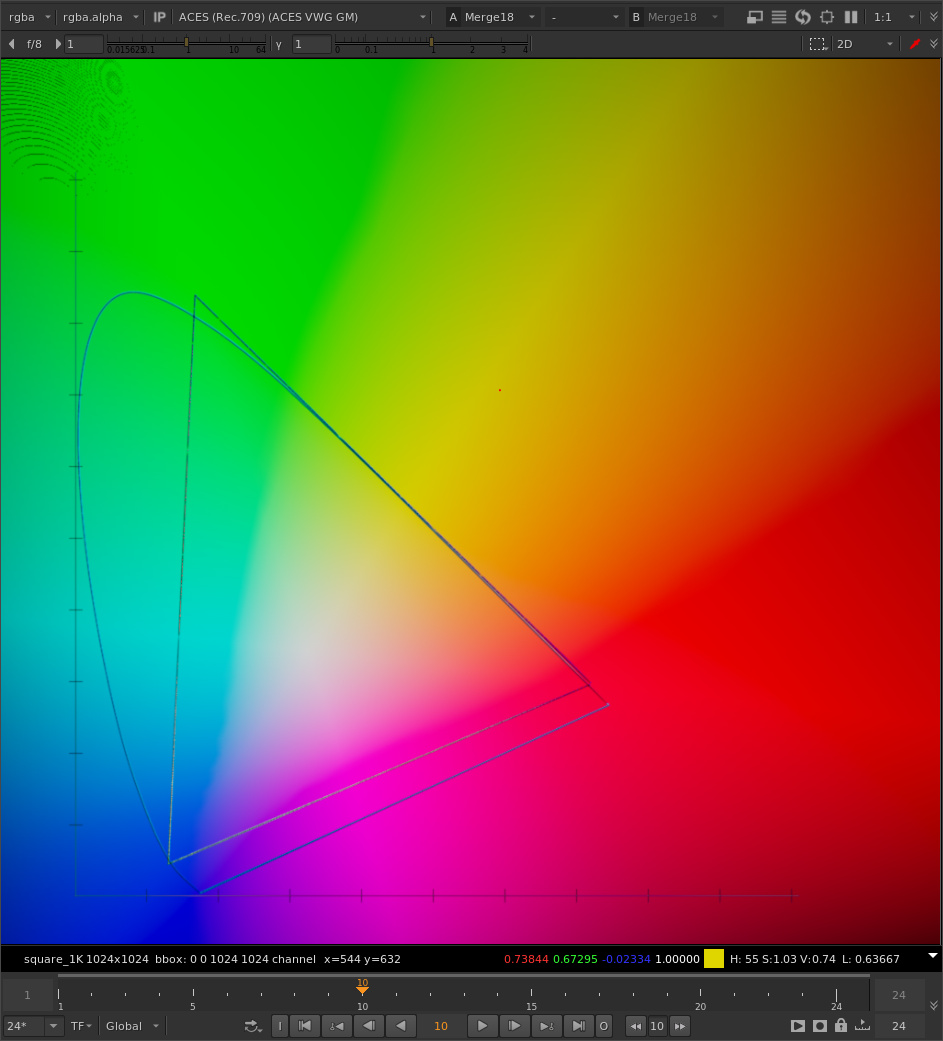
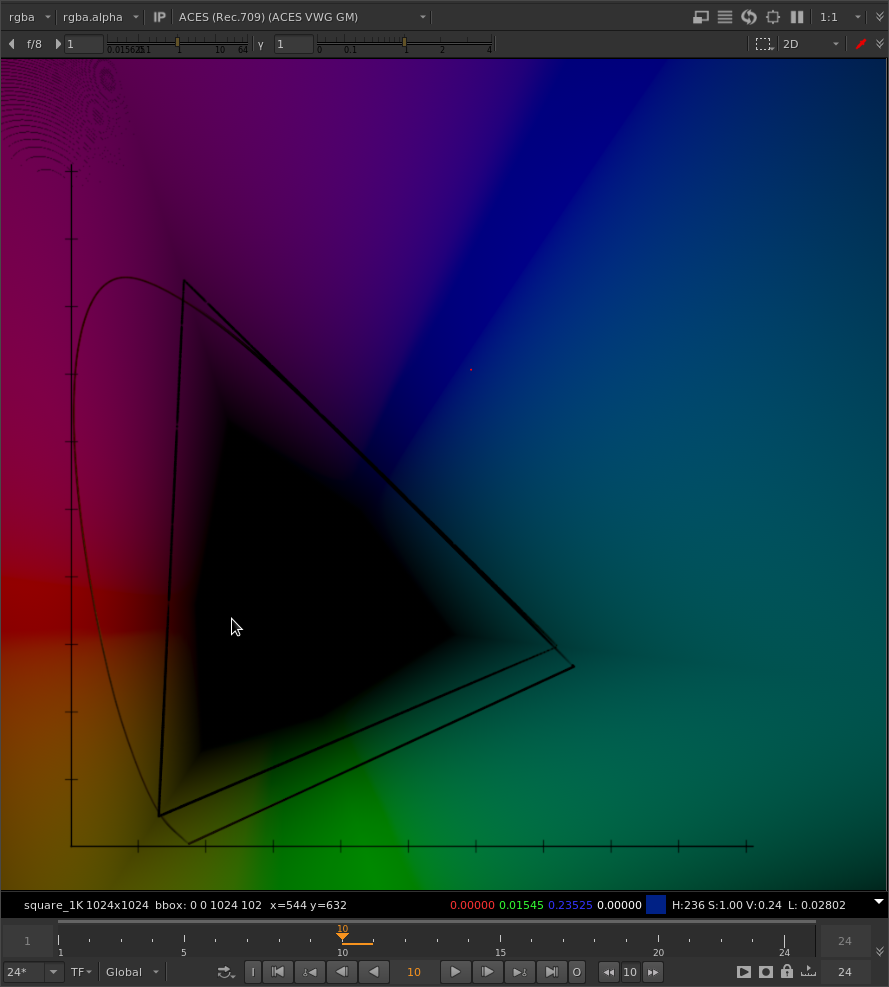
And here with gamut compression applied:
Note both the R and G values are being pushed positive.
If we compare the effect on the same image between your tweak and the original algorithm, it’s interesting what is happening.
Here’s the unaffected image with out of gamut values outside of the ACEScg gamut triangle:
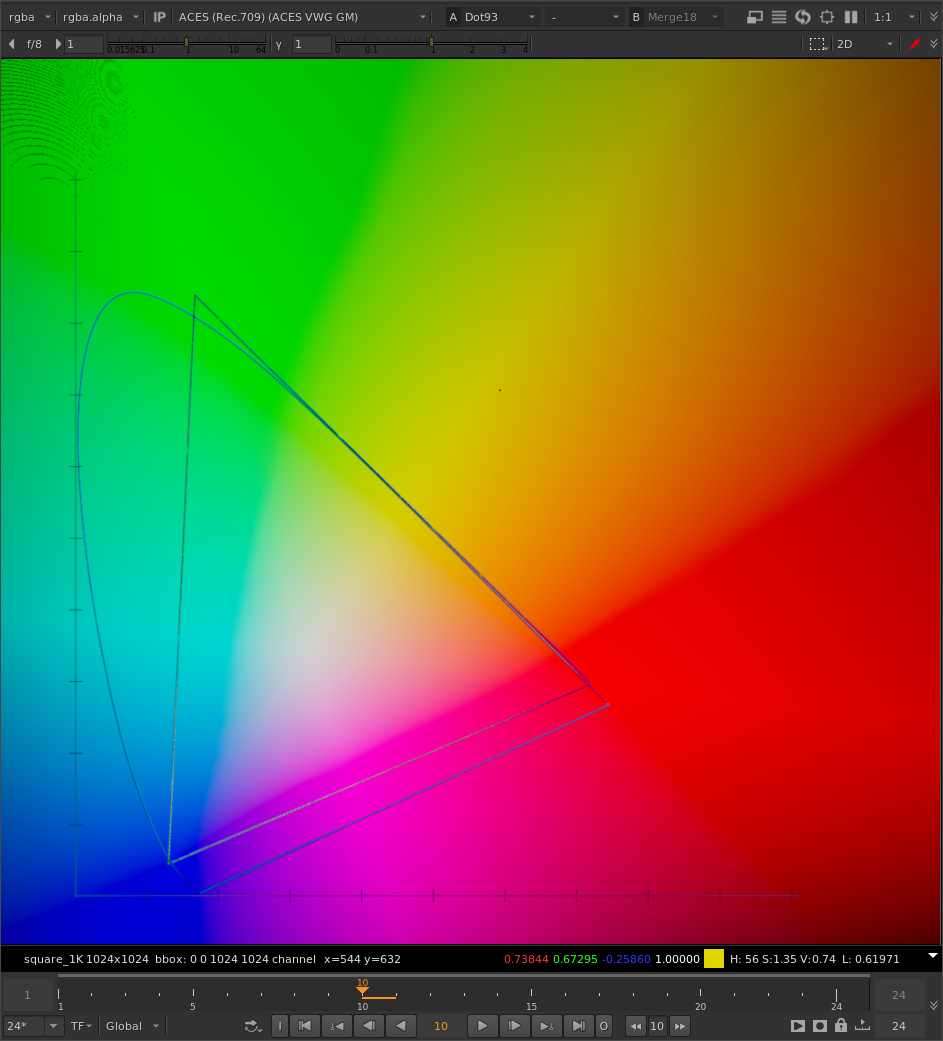
Here is the same image, gamut compressed with the original algorithm (same parameter settings as your example: threshold 0.2, max distances 0.2, reinhard):
And here’s the same image gamut compressed with your tweak:
We are adding more compression in the region between the primary vector and the secondary vector. That is, between the line going between the whitepoint and the blue primary, and the line going between the whitepoint and the yellow point, halfway between the blue and green primary, we are adding additional compression.
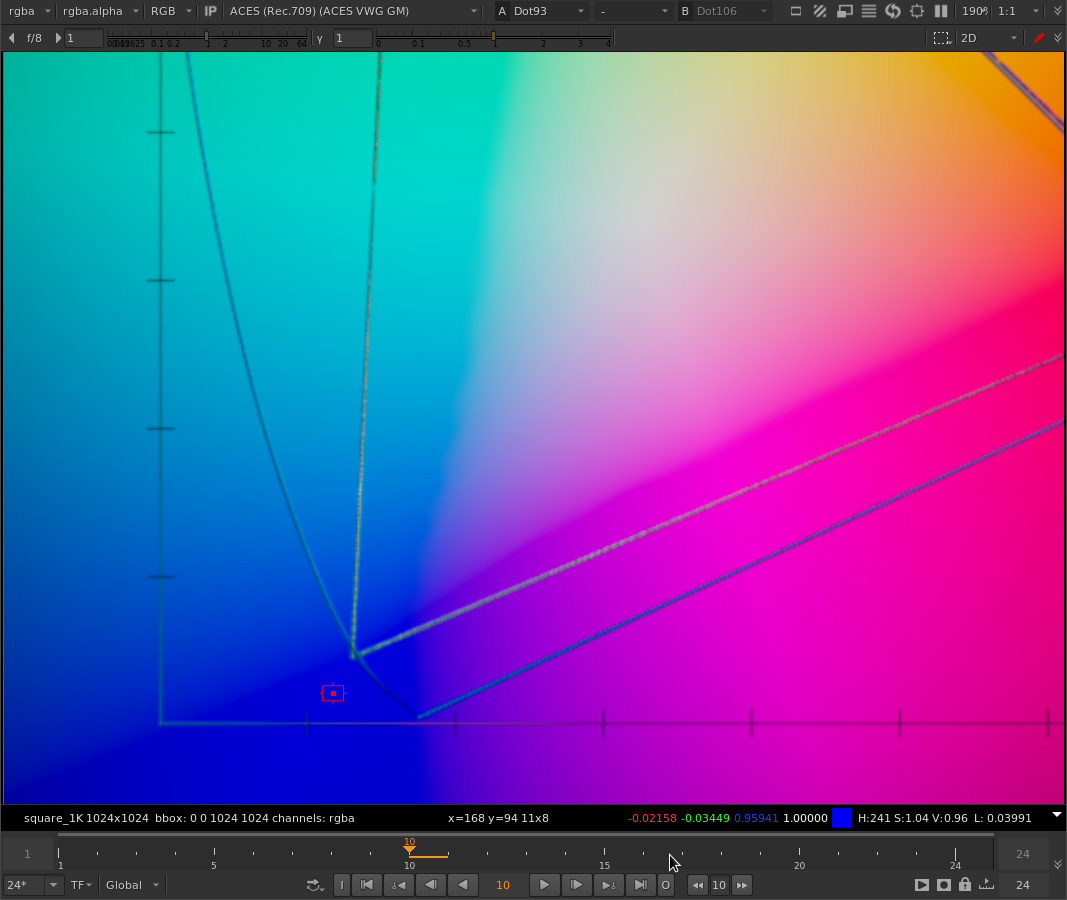
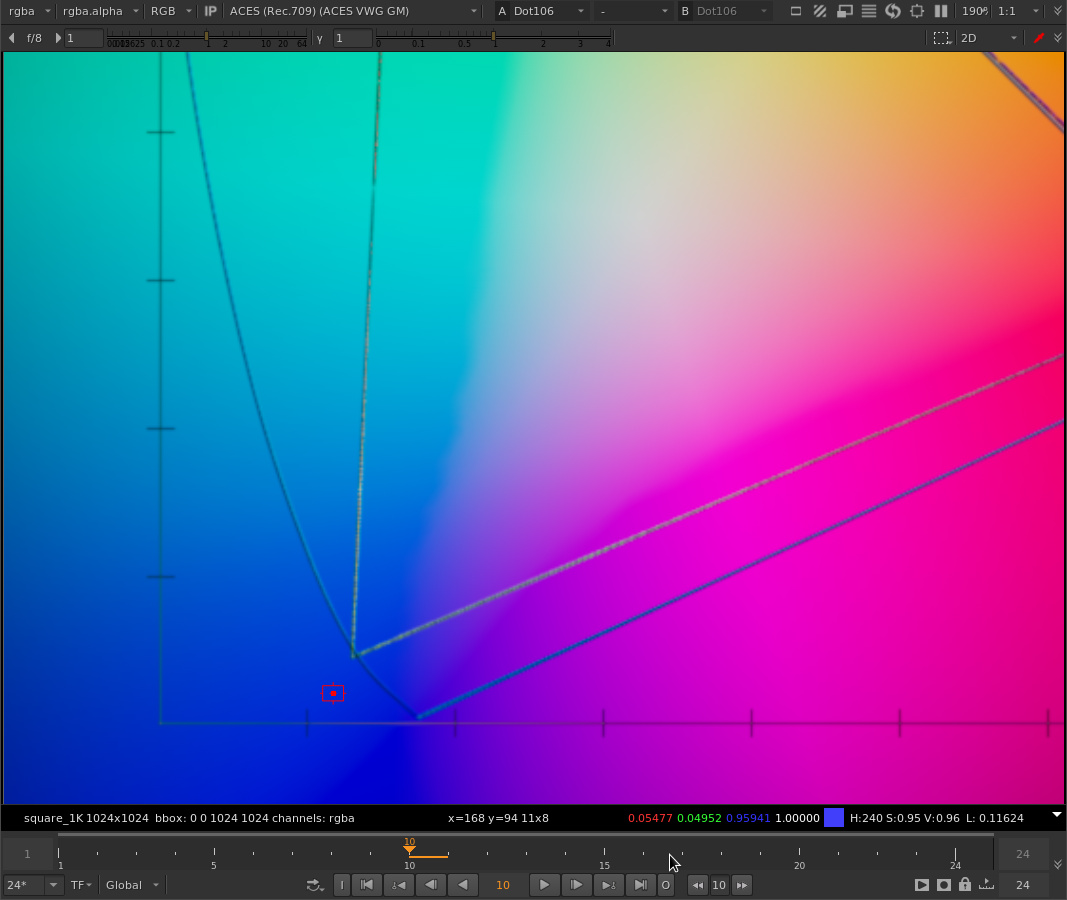
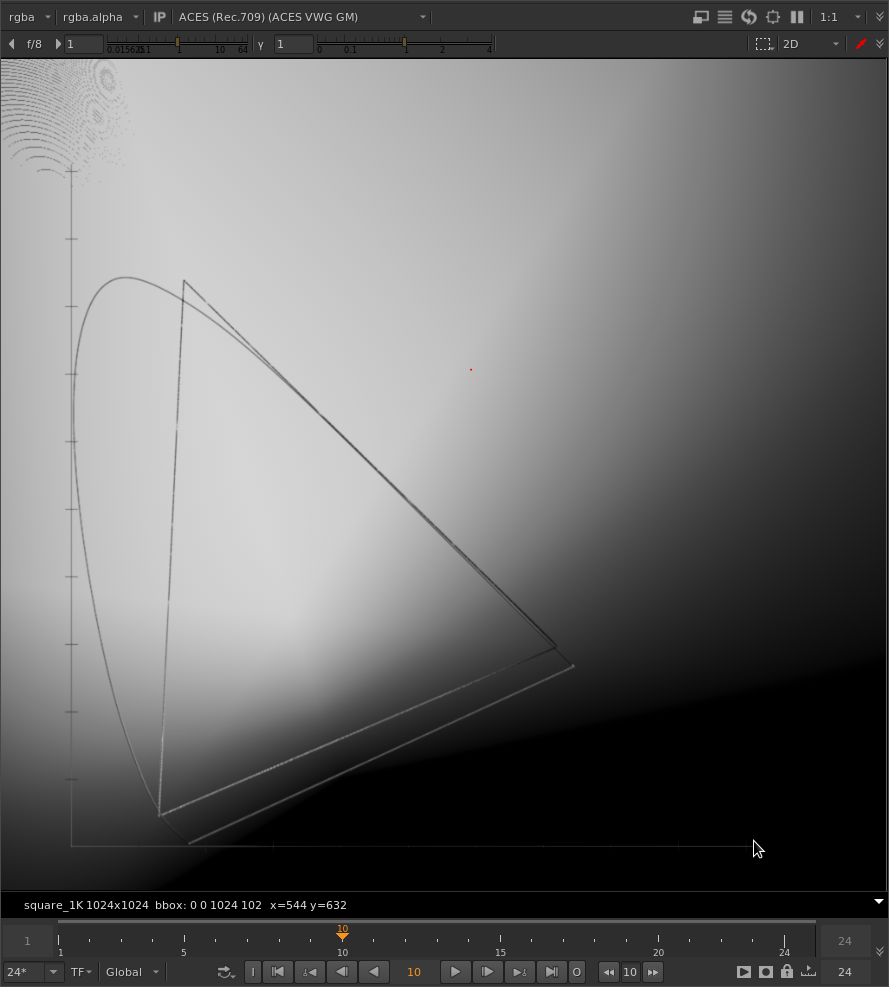
Here is just the green channel after gamut compression with the original method:
And with your tweaked method:
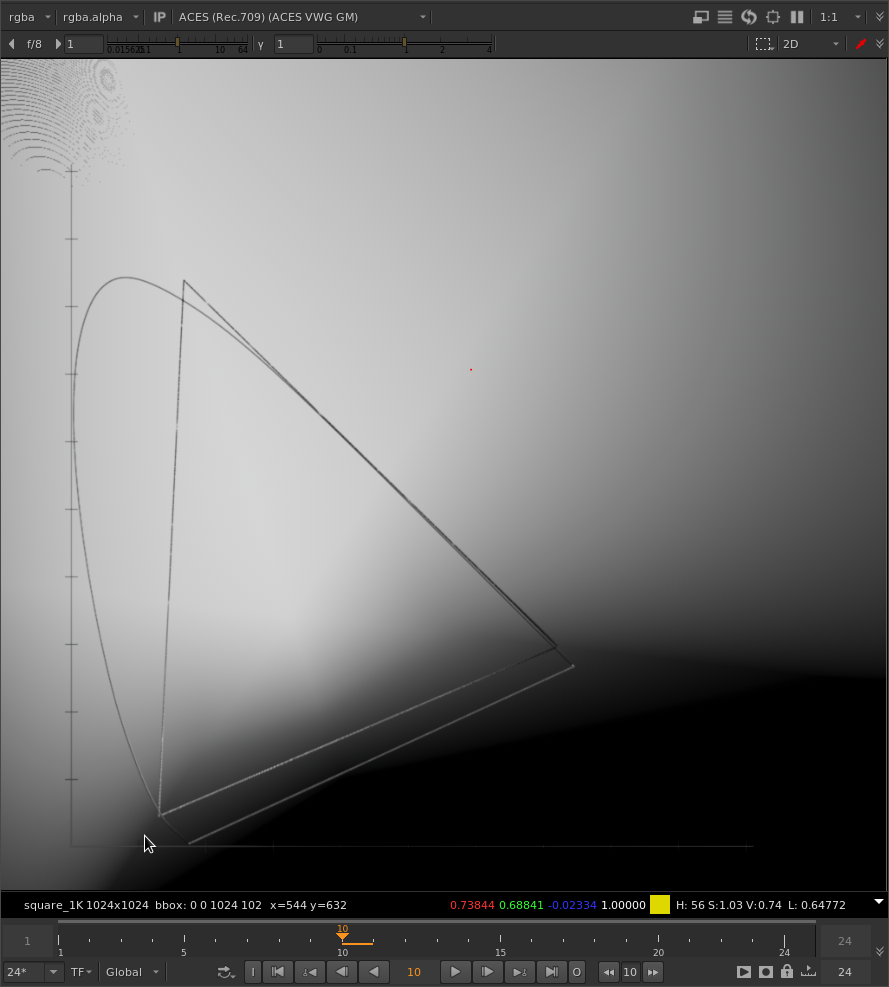
As you can see, areas along the green primary line are the same between both methods.
It might be interesting to look at the difference between the original and the gamut compressed images.
Here is with the original method:

And your tweaked gamut compression:
The hues are obviously inverted here, but it’s obvious there is more yellow between green and red. More magenta between blue and red. More cyan between green and blue.
To put it simply, there are more secondary colors between the primary colors.
There are also more noticeable mach bands which might be problematic.
Looking at some real images… it seems to emphasize secondary colors and de-emphasize primary colors. For example here’s one of @colorbycontrast’s images with original method gamut compression:

And with the tweaked method gamut compression:
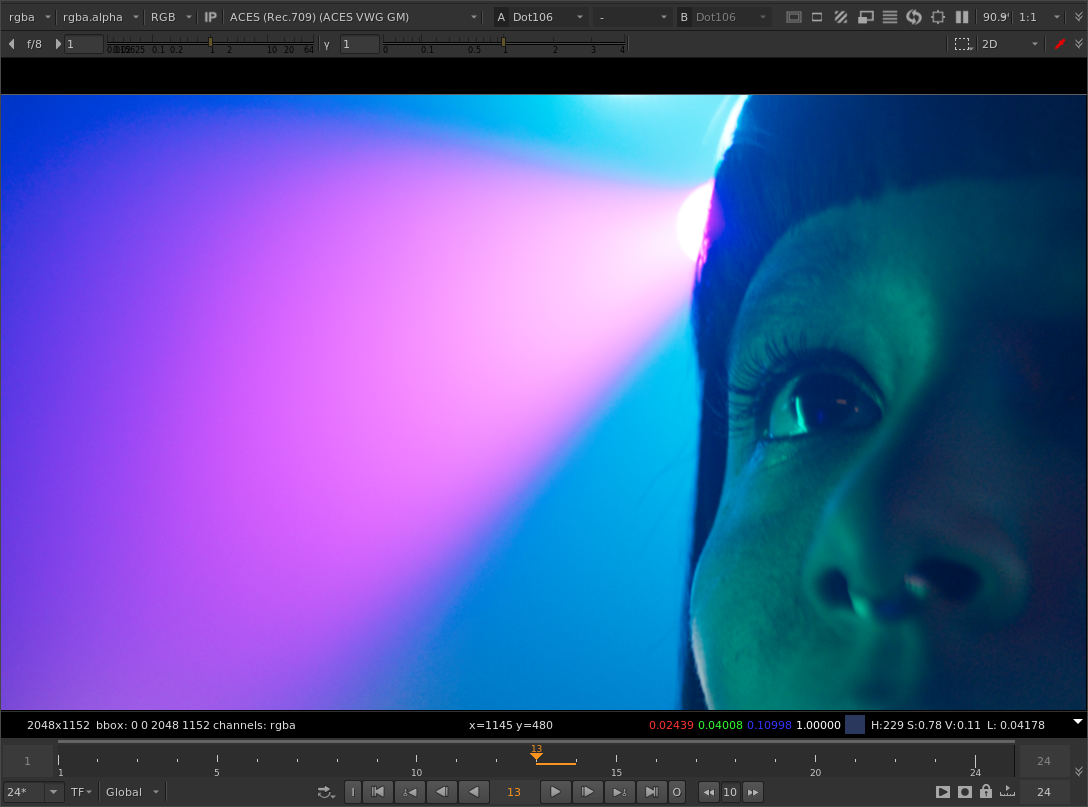
The purple colors are more purple, and the boundaries between purple and blue are sharper. Maybe unnaturally sharp.
The same thing is visible in @Justin_Johnson’s diffraction grating images. Here’s a cherry-picked example with the original method gamut compression applied:
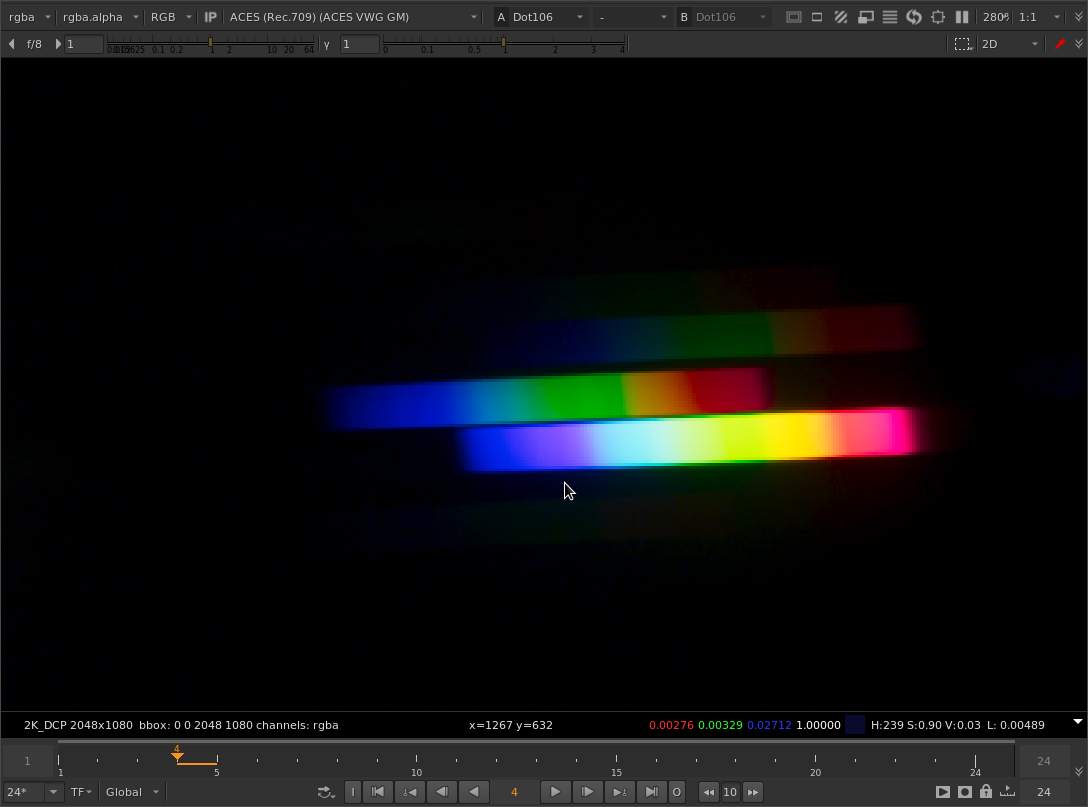
And with your tweaked method:
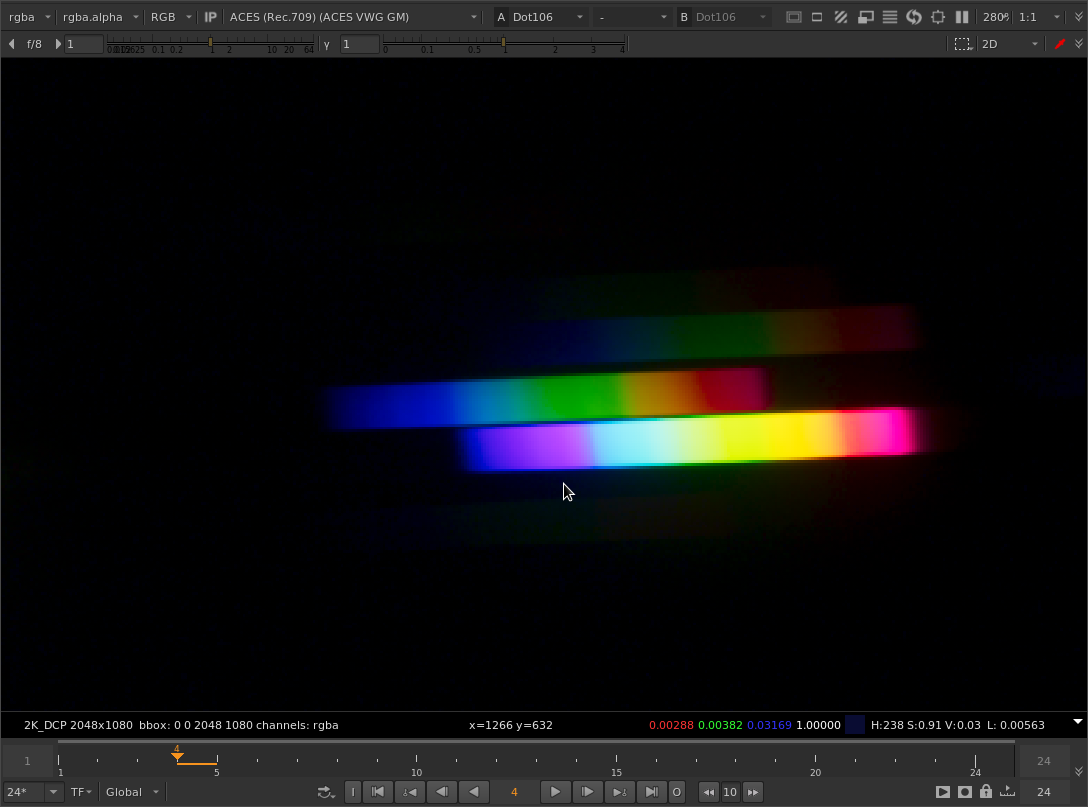
Note the hard boundary between purple and cyan.
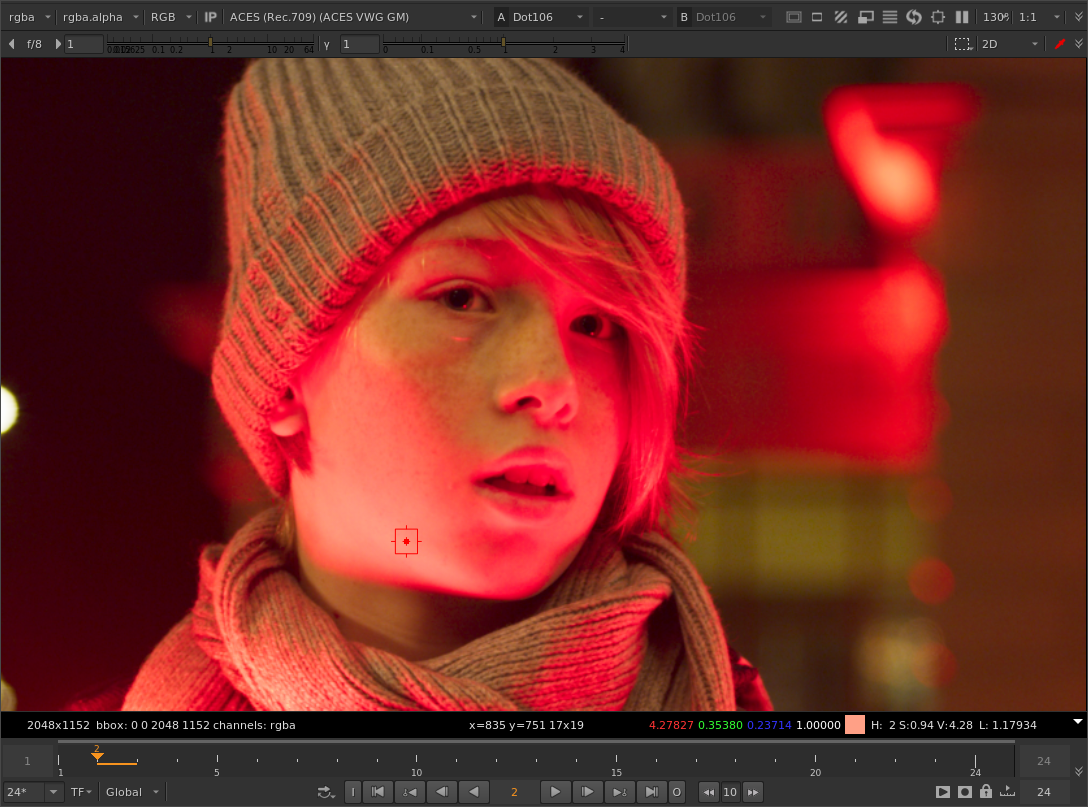
Looking at the Red Xmass image, it certainly does look more pleasing out of the box with your tweaked method. But is this because of the method or a happy accident?
Interestingly, in the faces of the children illuminated by the red light, only the blue component is negative. The differences between the original and your tweak is in how much the blue channel is increased in intensity.
Here’s an example - the original image with no gamut compression:
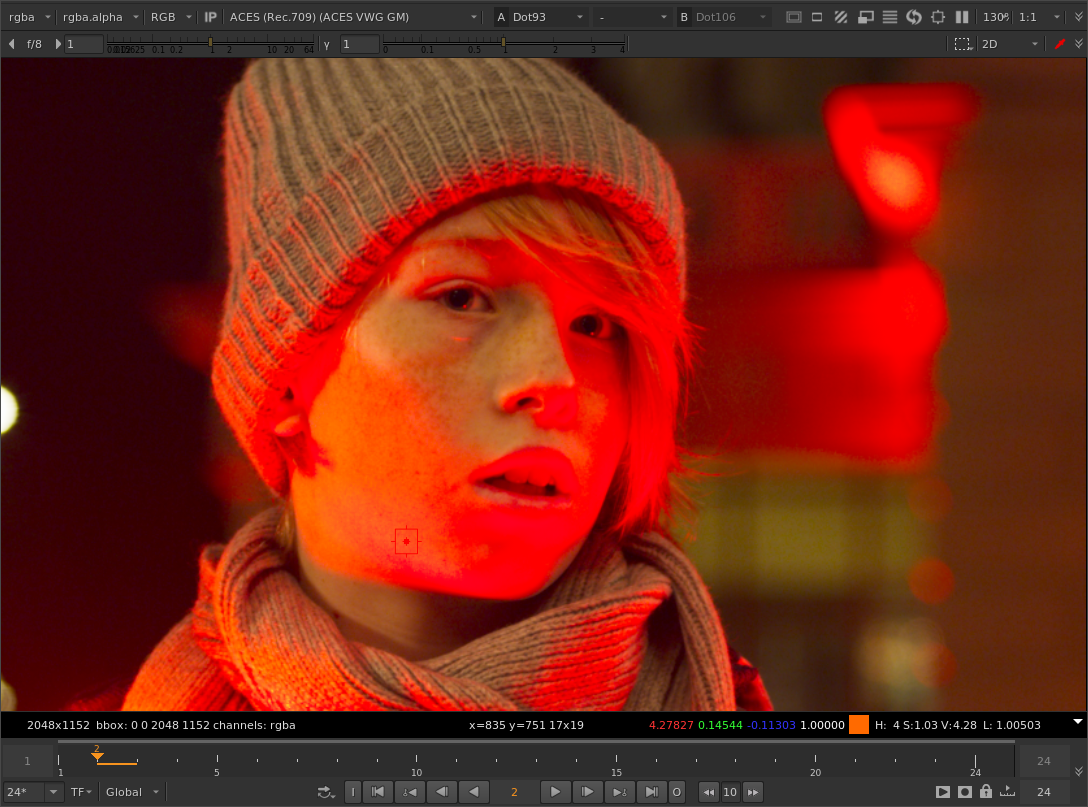
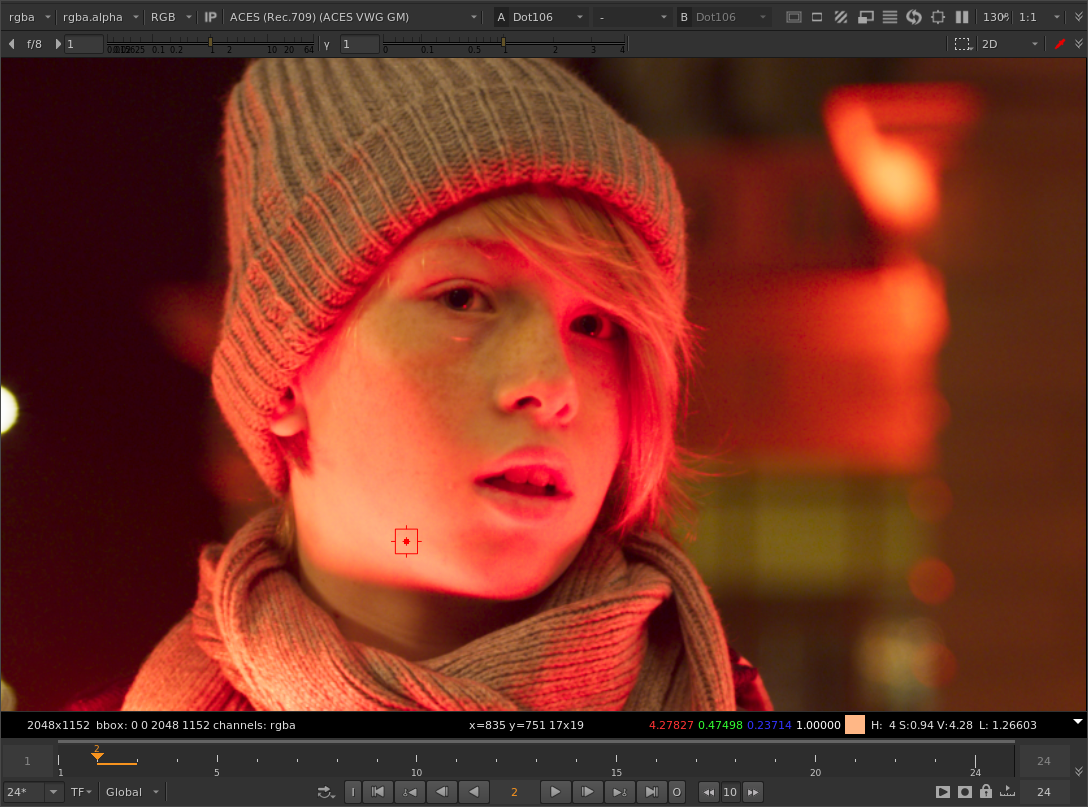
The image with the “original” gamut compression method:
With your tweaked method:
And here’s another version using the original method, but instead of the parameter settings you are using (threshold 0.2, max distances 0.2), I’ve increased the green threshold from 0.2 to 0.36:
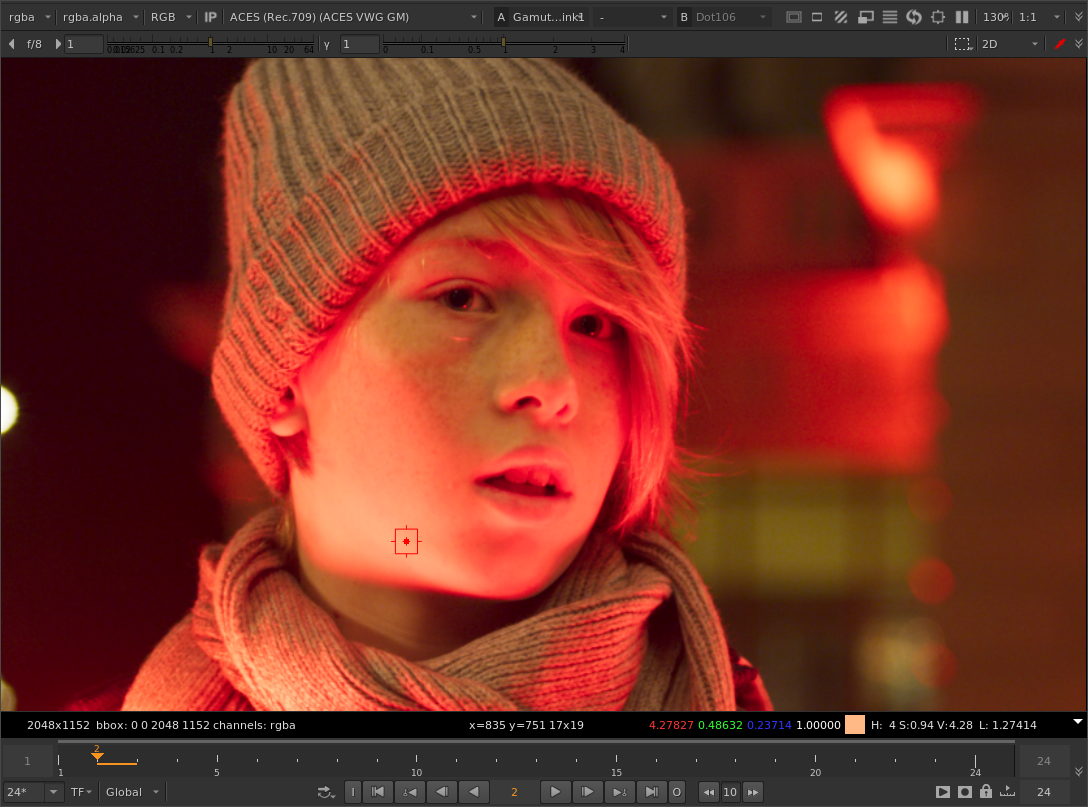
It’s not exactly the same but it is quite close when you look at the skin tones, and there weirdness in the tonal gradients of his lips.
Adjusting the threshold values independently per color component might be an important aspect of the parameterization beyond the abstract “how much of the core gamut to protect” concept which we’ve all been thinking about.
Currently this option is only available in the Nuke version of the tool because I could not figure out an elegant way to put that into the other DCC implementations. Three sliders to set the threshold doesn’t really appeal to me…
Anyway sorry for the giant wall of text, and thanks again @nick for the experimentation. It got me thinking about this again …
