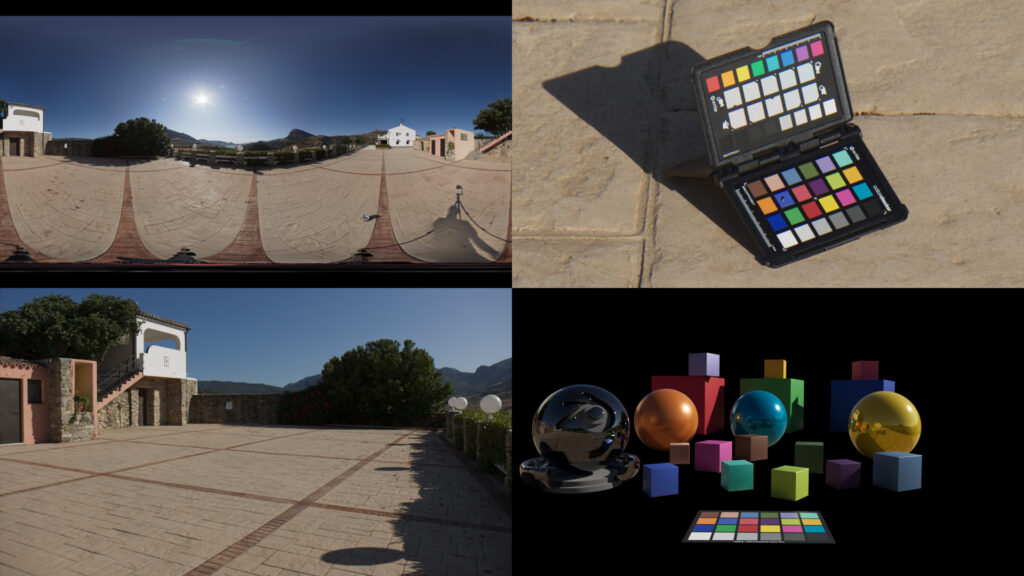
Thanks to Daniel Brylka for contributing this set up for Blender 2.8 with ACES 1.1 using OpenColorIO.
Hi Steve,
thanks for sharing my page. Next time I post it directly here.
Best regards
Daniel
thanks for the contribution!!
Here is the a quick step list:
- Download the OpenColoIO config for ACES 1.1 from this link:
- github.com/colour-science/OpenColorIO-Configs/tree/feature/aces-1.1-config
- Unzip and place the config in your user folder or on a server location.
- Set a system variable for OCIO to this path to use it for all applications that supports it and don’t have an option in the preferences to set the path manually.
- Or start Blender with the variable set only for Blender.
- On the Mac I use Automator to create an App called “Blender_ACES”. In this app I use a shell script to set the variable and start Blender.
- For Windows I use a simple .bat file.
- I didn’t find an easier and way.
- Happy Blending…
- Oh, the color chart you can find here:
- github.com/colour-science/colour-nuke/tree/master/colour_nuke/resources/images
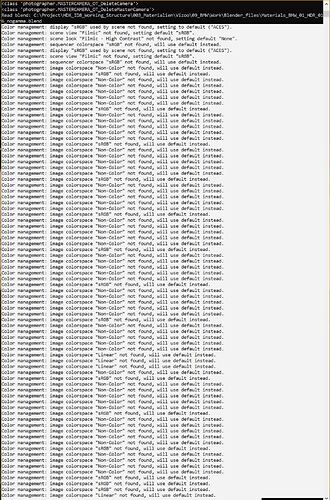
I updated the page and added some more images and explanations what happens when you (in this case me) forget to start Blender in ACES but having already a .blend file that contains ACEScg images. This real accident happened with tests in MAYA some years back on a cloud render farm where the OCIO environment was just ignored.
Thanks for the explanation Daniel !
For anyone having issues with Git bevause the repo is big, with big history, and not using LFS, you can use this command:
git clone --depth 1 --single-branch --branch feature/aces-1.1-config https://github.com/colour-science/OpenColorIO-Configs.git
Hi,
The direct link to the .zip file (without history) is here: https://github.com/colour-science/OpenColorIO-Configs/archive/feature/aces-1.1-config.zip
Cheers,
Thomas
Hi,
I followed your instructions and i am starting blender with the .bat approach you showed.
I have some problems with gloss and normal maps.
Normally they are set as non-color data.
These are not available anymore.
Hi Sascha,
it looks to me that you opened a scene file that was not created in an OCIO environment and now it is missing the default colorspace settings?
Do you get the same errors when you start working with a fresh scene?
Greetings
Daniel
Hello there,
I tried to create a .bat file, but didn´t work.
I´m using Blender 2.82a version.
This is my .bat file:
Thx!
Set OCIO-D:…etc
should be
Set OCIO**=**D:…etc
Thanks for this great resource Daniel.
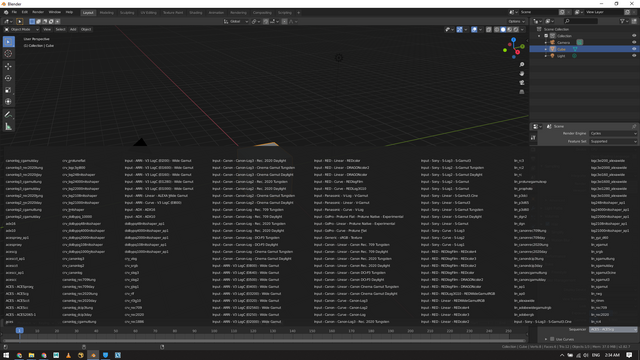
Is there a convenient way to remove or organize hundreds of colorspaces that appear in the dropdown menus?
My resolution is HD, so I can not even fit the whole list in my screen 
Hi,
sadly I don’t know how to solve this problem. Of course I ran into it as well. Especially on a smaller screen its kind of impossible to choose colorspaces.
Some tools like Autodesk Flame or Foundry Nuke have categories.
Sadly Resolve gives you just a long list which is also a pain.
I mean its all there in the .config file. The tools just need to make us of it.
Just a random example:
!
name: Input - Canon - Canon-Log - Rec. 2020 Tungsten
family: Input/Canon
equalitygroup: “”
bitdepth: 32f
description: |
Canon-Log - Rec. 2020 Tungsten
…
Best regards
Daniel
Hi,
I updated the page for the ACES 1.2 update. (https://www.toodee.de/?page_id=1720)
I also added the batch files content as text for a more simple copy&paste.
Daniel
I also added another page that focuses on the issues that I ran into with Blender & ACES so far:
- All images should be exr files in the colorspace ACEScg.
- Colorspace tranforms in textures will result in imprecise and wrong results when the image texture is a 8-Bit file!
- Blender misses an option to select the OCIO file in the preferences – at the moment you must set the OCIO environment variable before starting Blender.
- The list of colorspaces are not sorted in categories like it is in Nuke for example. The list is so large and long you need a giant screen to see them all and be able to select one with is at the end of the list – as a workaround you can temporally scale down the Resolution Scale smaller than 1.0 in the Interface/Display Preferences.
- Be aware that you are working in a far bigger gamut of ACEScg – I wrote an article called Understanding Gamut with ACES and Blender about this topic.
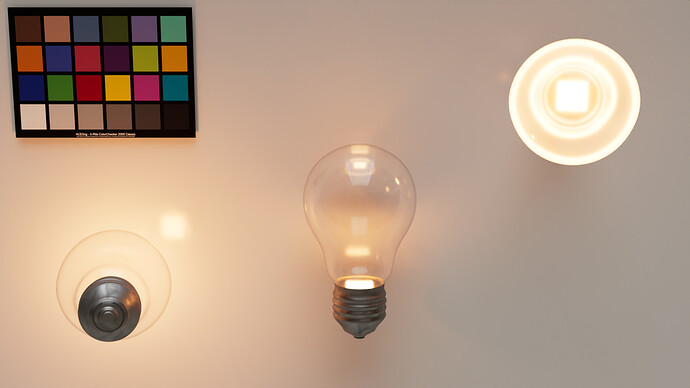
- Page update: Test of the Blackbody shader which doesn’t really works in ACES.
Hello,
Could you elaborate on why this is happening in Blender? I do not render in Blender, but curious to know.
You can also unzoom (mouse scroll) in the shader editor tab.
Best
Hi kn9,
while I was in the process of writing a piece on the right usage of the IDT sRGB-Texture I came across the issue that although I used the wrong IDT (Out-sRGB) in Blender, pure white pixels were still at a value of 1.0 instead of 16.xxx in the rendering.
This issue I filed as a bug and got among the process this information:
“This is a known issue. Textures in Blender will be stored in 8bit memory if the source file is 8bit, to keep memory usage predictable.”
The colorspace transforms should be happening in floating point precision of course.
As a workaround to continue writing about this topic I pre converted the texture wrongfully in Nuke and exported as a EXR file.
Also in the process of writing the article I found out by mistake that zooming out of the shader node window allows to select any OCIO transform if your glasses or eyes are good enough to find it 
I updated the page and corrected some points.
Thanks
Daniel
Hi,
today I updated the Blender & ACES page on my site. I re-rendered some images with Blender 2.93 and ACES 1.2. I guess another update for ACES 1.3 will follow soon. 1.4. Blender & ACES 1.2 – Brylka – TooDee – PanicPost
Here again the main steps:
Setup Blender 2.93 to work with ACES 1.2 using OpenColorIO (OCIO)
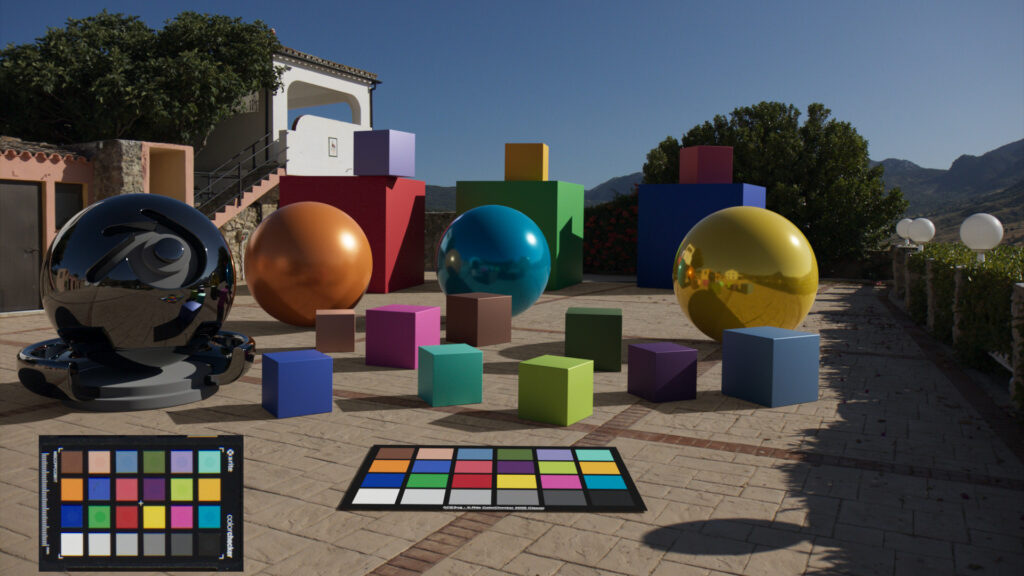
Blender 2.9.3 Cycles rendering in ACEScg (View Transform Rec.709). The objects have all the diffuse material color values of the 18 colored patches of the color checker. The scene is only lit by one HDRI and the comp is a simple A over B.
All the images are exposure balanced to read RGB 128/128/128 in sRGB with the MAC tool “Digital Color Meter” for the middle grey patch on the color checkers.
Some years ago I could not find a simple step by step setup to use Blender with ACES & OCIO on Mac and Windows. At the end here I figured it out and noted the steps down for others to find:
- Download the OpenColoIO config for ACES 1.2 (Release Candidate) from this link:
- github.com/colour-science/OpenColorIO-Configs/tree/feature/aces-1.2-config
- Unzip and place the config in your user folder or on a server location.
- Set a system variable for OCIO to this path. This allows to use it with all applications that supports it and don’t have an option in the preferences to set the path manually.
- Alternatively you can start Blender with the OCIO variable set only for one application.
- On MacOS I use Automator to create an App called “Blender_ACES”. In this app I use a shell script to set the variable and start Blender.
- For Windows I use a simple .bat file.
- I did not find an easier way to do it.
- Happy Blending…
- Oh, the latest 2014 color chart you can find here:
- github.com/colour-science/colour-nuke/tree/master/colour_nuke/resources/images/ColorChecker2014
MAC “Automator” script and PC “.bat file”
Automator MACOS:
export OCIO=/Users/daniel/MEDIA/ACES/OpenColorIO-Configs-feature-aces-1.2-config/aces_1.2/config.ocio
cd /Applications/Blender/blender.app/Contents/MacOS/
./blender
PC .bat file:
Set OCIO=D:\ColorManagement\ocio\aces_1.2\config.ocio
START “Blender 2.9.3” “C:\Program Files\Blender Foundation\Blender\blender.exe”
Best
Daniel
any idea about how to set up this in blender
Hi,
Maybe I can help. But I don’t understand your question.
best
Daniel
Sorry, my mistake.
I wanted to mean in linux. How to do this in linux?
I am using Kubuntu 20.04 i and don’t know how to use and set up ACES on blender.
