I’m working on converting a texture from Linear Rec.709 (sRGB) to ACEScg and baking the “ACES 1.0 - SDR Video” display transform using oiiotool, but I’m encountering an issue where the resulting image appears yellowish tint in Houdini and Nuke when viewed with the “sRGB - Display” display and “ACES 1.0 - SDR Video” view. I’ve tried various approaches, but the problem persists, and I’d greatly appreciate any assistance.
Background
I’m processing a high-resolution EXR texture (16384x16384, 3-channel, half format) originally in Linear Rec.709 (confirmed via oiiotool --info -v with oiio:ColorSpace: “lin_rec709”). My goal is to:
Convert the texture to ACEScg.
Ensure the result looks correct in Nuke with the display set to “sRGB - Display” and view set to “ACES 1.0 - SDR Video.”
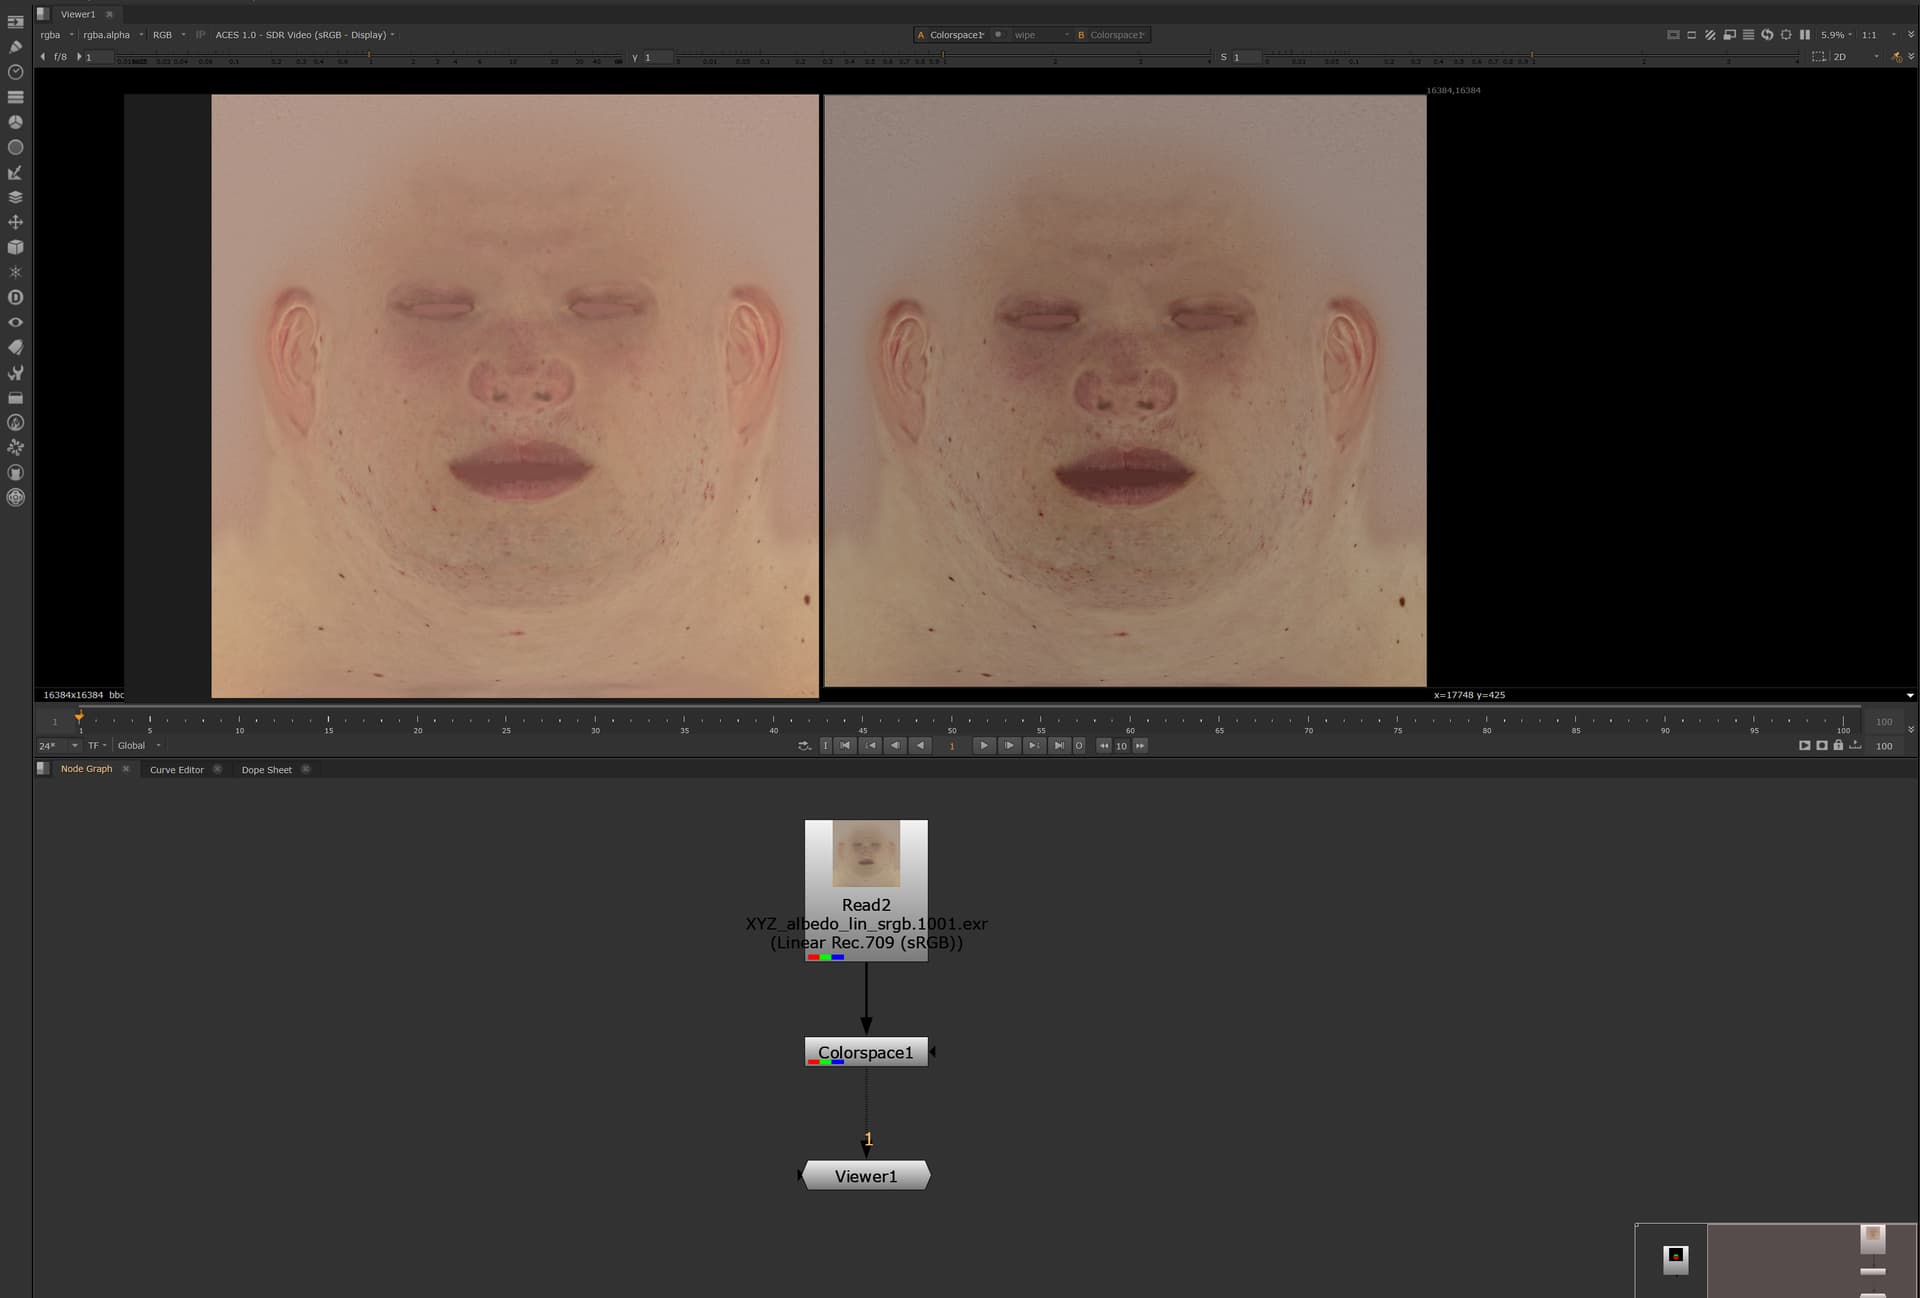
I can’t properly read the text in your Nuke screenshot, so I am not 100% sure of your pipeline, but it looks like it is not the ACEScg converted one whch has the yellow cast. It looks like that one is a little blue compared to the one converted with OCIOColorSpace.
If so, that would suggest that OCIOColorSpace is correctly applying a chromatic adaptation when converting, but your external OIIO conversion is not. Therefore the OIIO conversion retains the D65 white of the source, rather than being chromatically adapted to the D60 of ACES.
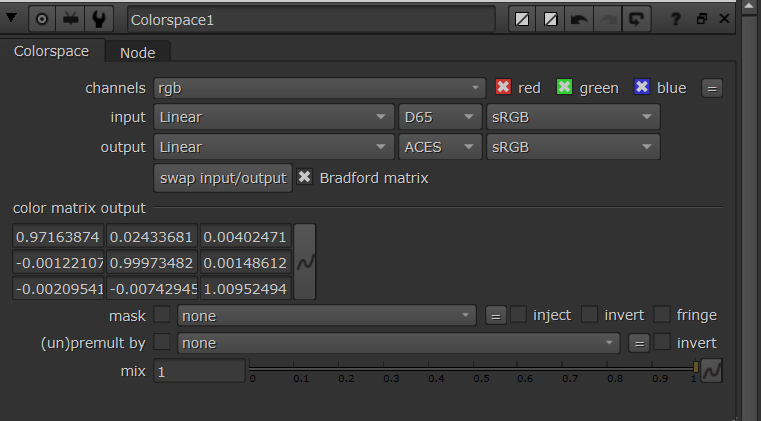
Try replacing the OCIOColorSpace note with a Nuke ColorSpace node and toggling the “Bradford matrix” check box on and off. With Bradford enabled it should match OCIOColorSpace. Without, I am guessing it may match your external (incorrect) conversion.
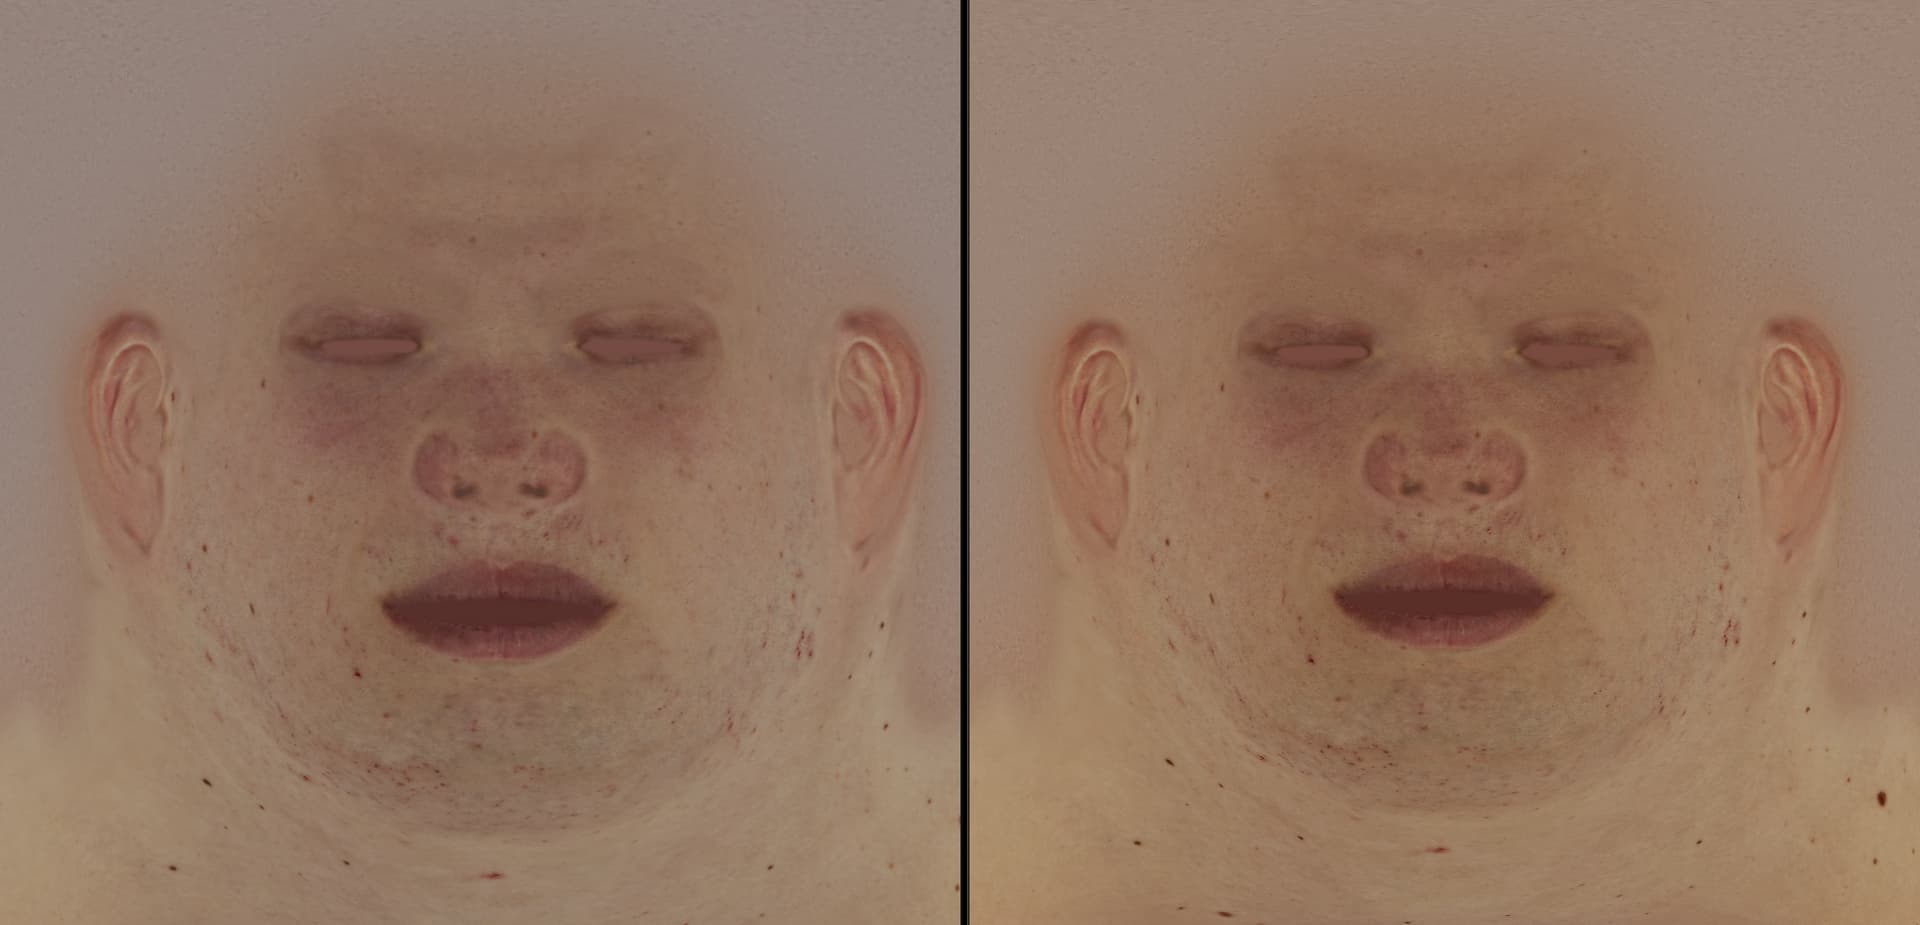
Do you mean like this? The one on the left is the lin srgb viewed with just a Gamma node applied with a 2.2 value. The one on the right is the lin srgb with the Nuke ColorSpace node.
If I activate and deactivate the bradford matrix, it will result on a more yellowish result.
What I’m trying to achieve is to get the same result in Linear sRGB but in ACES. I need to match the reference.
I’m also using RTT ACES 1.0 - SDR Video (sRGB - Display)
(Continuation of my first reply. Not a response to your second post)
To elaborate, the sRGB Output Transform includes a chromatic adaptation from the D60 of ACES to the D65 of sRGB. The OCIOColorSpace conversion includes a D65 to D65 chromatic adaption, as an IDT should. Thus the two cancel out, and equal RGB values (neutrals) in the source become equal ACES RGB values, and then through the output transform become equal sRGB RGB values.
If you only have a chromatic adaptation in one direction, you get a colour temperature shift. The “D60 sim” Output Transforms deliberately omit the adaptation, in order to produce slightly warmer (D60) whites on a D65 display.
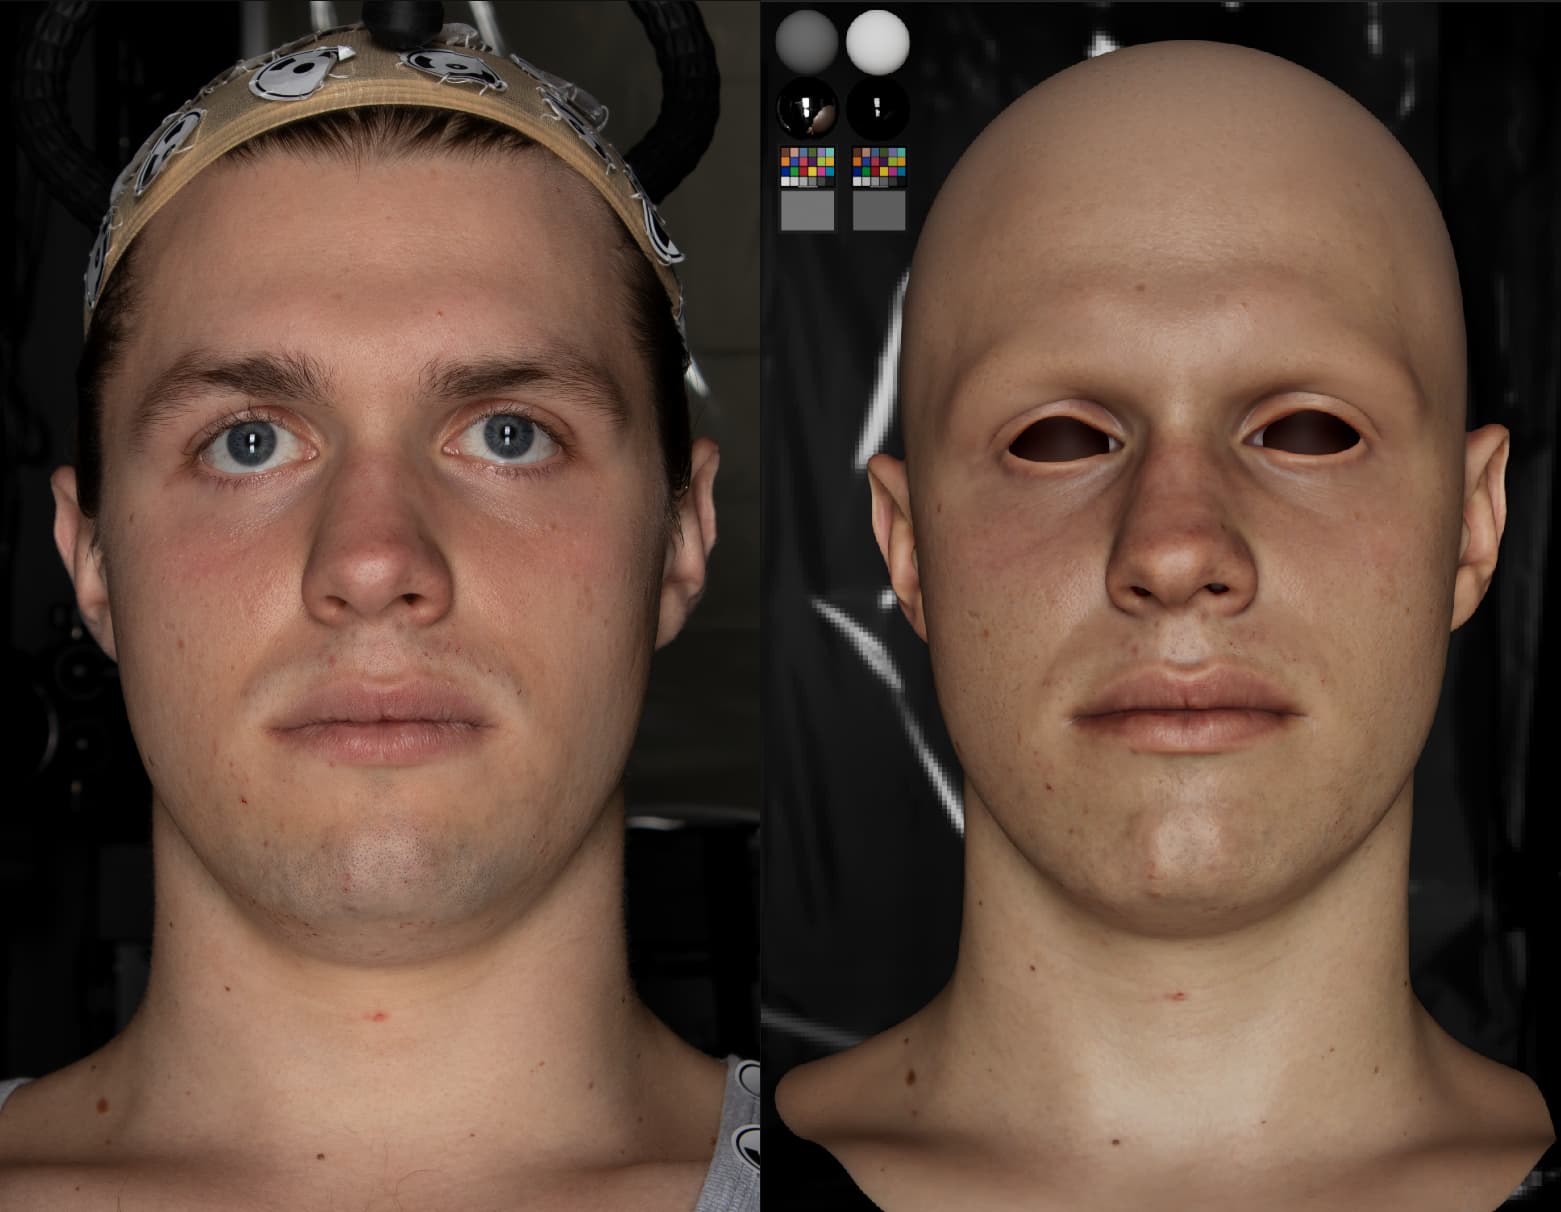
No, I didn’t mean matching the texture, but the person in the photo.
The linear sRGB texture comes with the 3D scan pack, so I guess it’s just plug and play (in a sRGB workflow). But in ACES, I suppose I need to convert the texture so it looks the same even with the ACES 1.0 – SDR Video (sRGB – Display) RRT.
Interestingly, if I apply an OCIOTransform from linear Rec.709 to ACEScg and then set the RRT to Un-tone-mapping, it looks correct.
But in Houdini, I’m working with the other RRT I said before.
Then, what’s the proper way to convert a texture from Linear sRGB to ACEScg without losing anything? No darker, warmer, colder, etc. results — just the same as Linear sRGB with gamma 2.2 applied and viewed through the ACES 1.0 – SDR Video (sRGB – Display) RRT.
I’ve tried multiple methods, but all of them lead to the same result: a darker version of the texture.
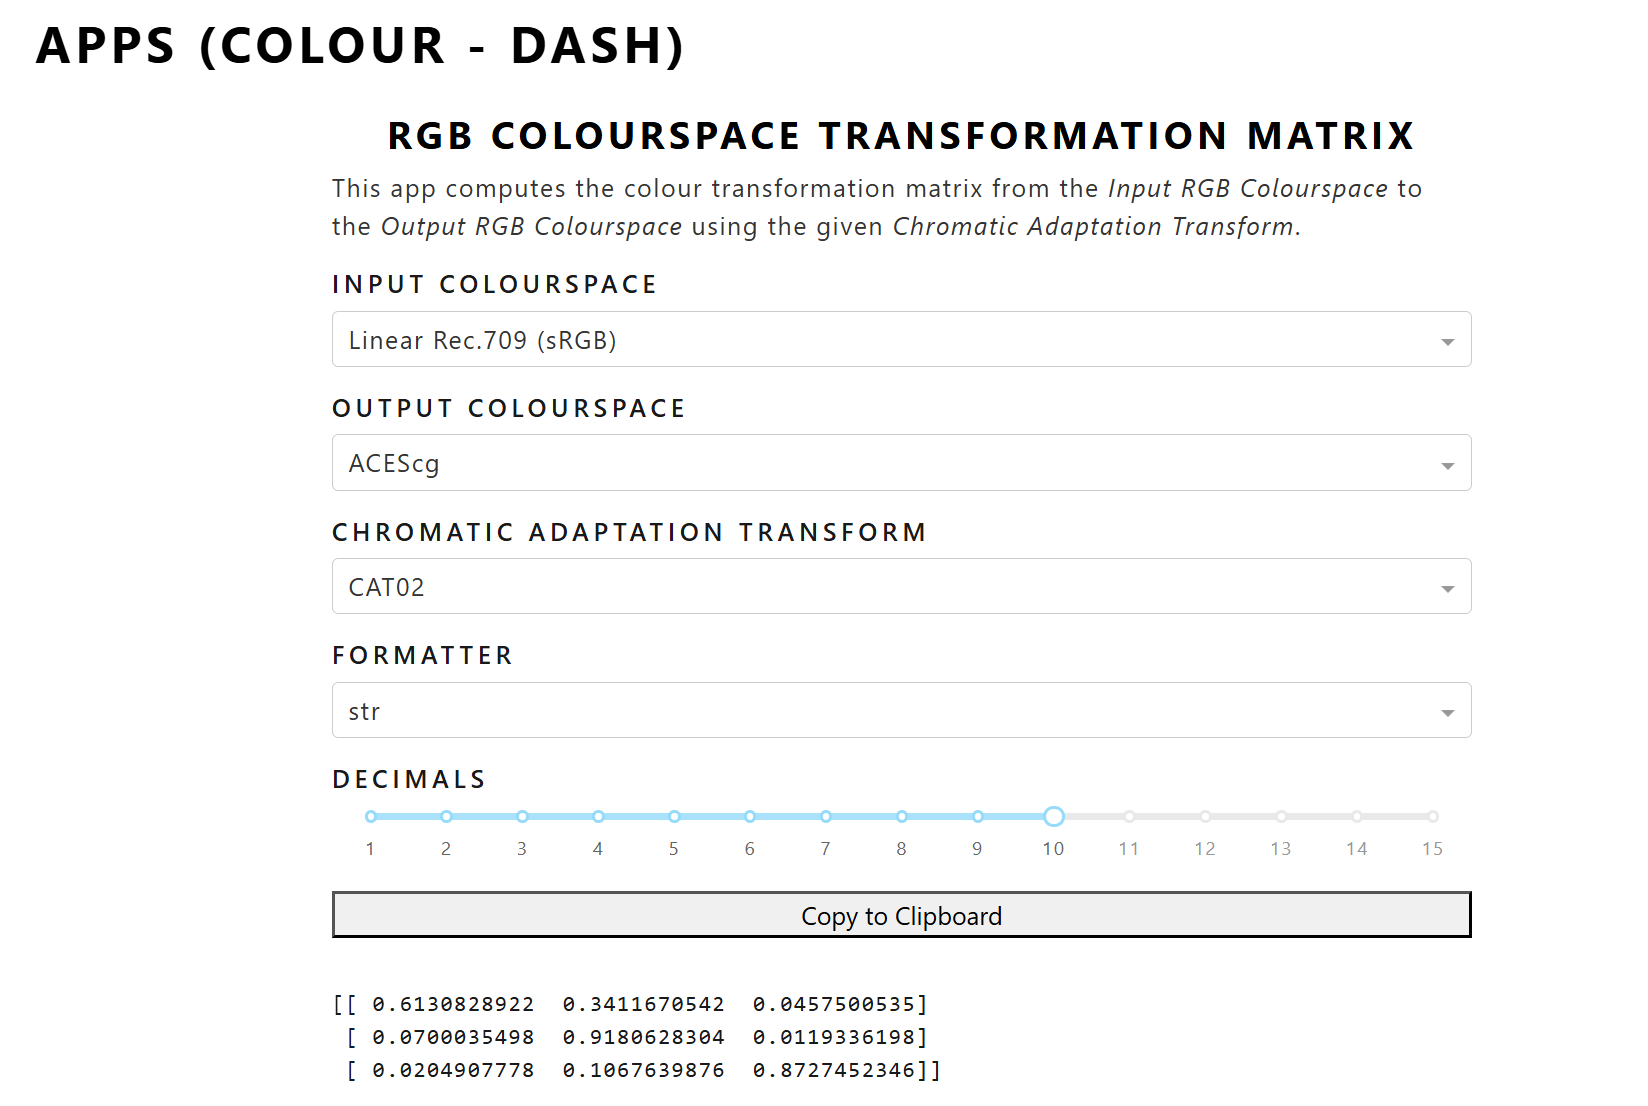
I even tried using the conversion matrix provided on this page: Apps (Colour - Dash) | Colour Science
, applying it to every pixel of the texture, but it still ends up looking darker and more yellowish than the original.
Search this forum. It’s been discussed a number of times.
Basically, the way to get an output through an ACES Output Transform which exactly matches a source is to use an inverse Output Transform as the Input Transform. However, this is not normally appropriate for textures, as it results in scene values much larger than 1.0.
Remember, ACES SDR Output Transforms include tone-mapping which roll off scene values larger than diffuse white (scene-linear 1.0). In order for these speculars to be distinguishable from diffuse white, it is necessary for diffuse white to be rendered at a value lower than 100%. So a texture value of 1.0 results in an SDR display value of ~0.81 in sRGB to allow room for speculars.