It is typically preferred to add contrast in a grading session, so the movement is in one direction.
If the DRT is too contrast you need to first reveal details and then push them back again.
Then curves with a shallow slope at the top are steeper to invert.
You can use an LMT sitting in the pipeline if you prefer a more contrasty starting point…
As Daniele, I definitely prefer to add contrast. Removing contrast always seems to give me a question of not having the maximum image quality or maybe even dealing with original clipping.
Hidden because I screwed up something (please ignore what I wrote)
I hope this isn’t too Off-Topic. The contrast setting below the HDR Color Wheels in DaVinci Resolve does not behave well in front of the DRT. It is too focused on the midtones. (HDR is much more than midtones). Increasing parameter g and readjusting t_1 indeed looks better. The contrast is more constant over a larger tonal range (visible in frame 77 on waveform).
So, to increase the contrast mathematical correctly, I will probably use a duplicate of the tonecurve with increased parameter g followed by the inverse with default parameters (both in front of the DRT / in a LMT).
EDIT: It is enough to lower the gamma value in linear space. It just looks negligibly different.
After reading most of the older posts, I do finally understand where the tone curve comes from and how it was derived. The function seemed strangely familiar to me. Without the modifications like contrast and toe, it is essentially identical to the Reinhard Tone Mapping Operator.
I made some comparisons between Daniele’s function and the Reinhard TMO using the ACES test frames and also my camera footage (bright outdoor scenes). So far, I prefer the simple Reinhard TMO with contrast enhancement in front of it. The gradients in the darkest shadows are smoother and the contrast is maintained longer in the highlights (sunny footage looks less boring). I have the feeling that I can achieve the look that I want with less work using this method.
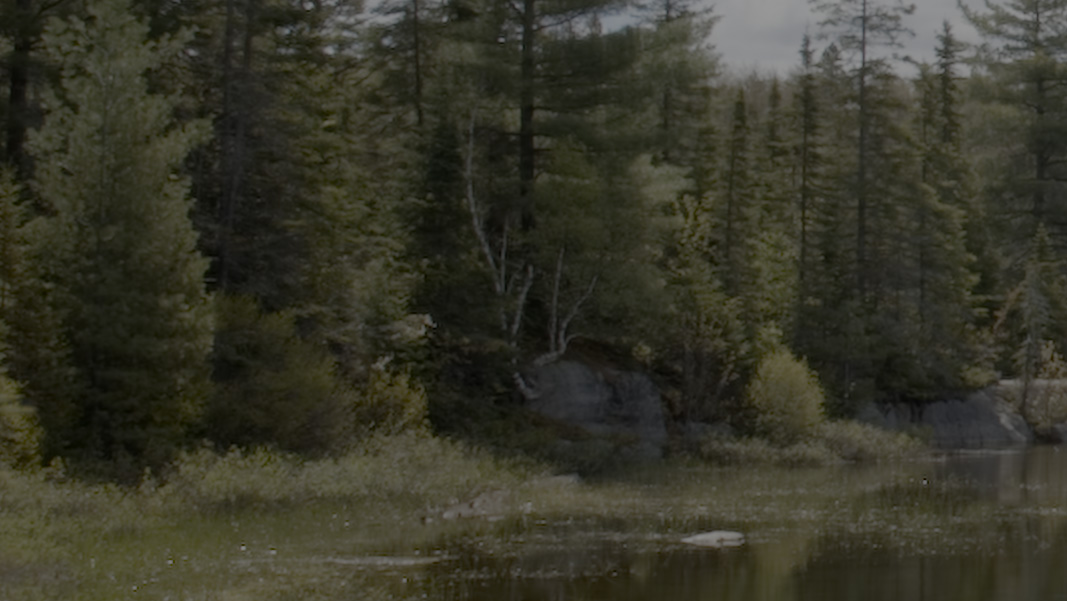
Daniele’s function as tone curve with default parameters: The darker areas on the right are looking somehow harsh. The contrast seems to be the strongest below middle-grey.
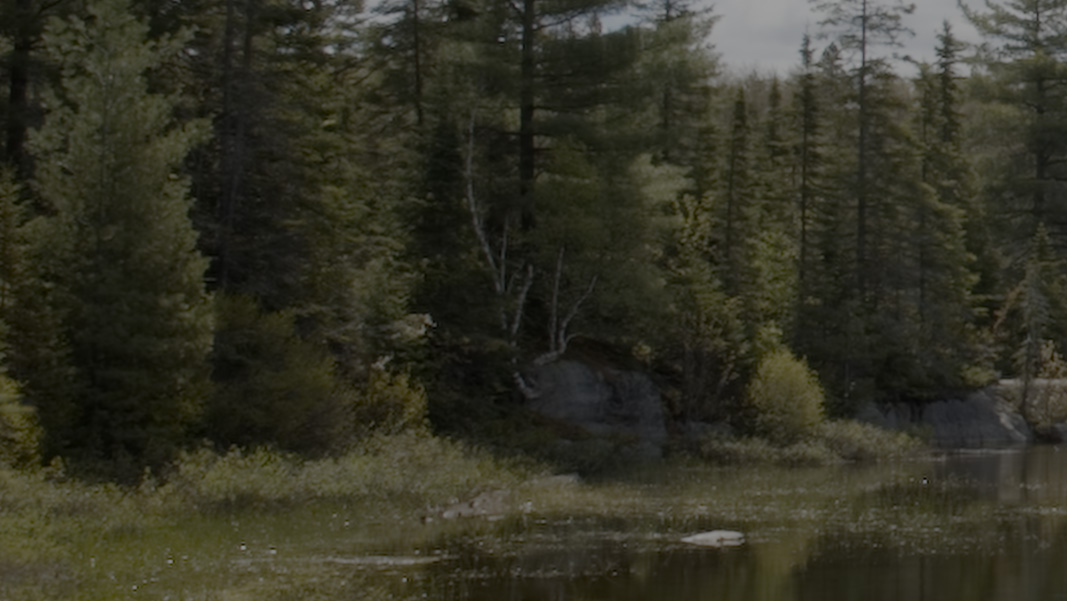
Reinhard TMO (essentially Daniele’s function with parameters g=1.0 and t_1=0) with contrast enhancement in front of it: More natural gradients in the shadow areas and better preserved contrast in the brighter areas on the left. Overall, the contrast feels more even across the entire tonal range, while still rolling off nicely at the top end.
The Reinhard TMO also uses a different method to adjust the dynamic range of the input (Formula 4 in his paper). But the resulting curves are almost identical:
Please do not take this as criticism. This is just my personal taste and I may change my mind in the future. I also don’t know how much I can trust my monitor. I really appreciate your work!
Have you evaluated the translation between SDR and HDR on the vanilla Reinhard.
Also how do you do the rest, do you only swap the tone curve rendering keeping the calculations of achromatic proxy and the rest the same?
I don’t understand the first sentence. SDR and HDR are matching good enough if you mean that. (I’m toggling between HDR and SDR simulation on the same monitor.) I’m using a DTCL for comparison in DaVinci Resolve. I did simple per-channel RGB tone mapping for fair comparison.
By the way, I’ve noticed that the tone curve looks more natural in the shadows when either g=0 or t_1=0. As soon as the second parameter is greater than zero, it starts to look weird.
In the second and third images the transition in the shadows to black is smoother / more natural / more realistic (however you want to call it). In the first image the contrast is too high for my taste. Of course, this would be more visible in HDR.
if t_1 would be 1.0 (as in your third example) the image would look very different I suppose. (Or is this a typo)
Also when comparing t could you keep g constant otherwise you cannot judge a parameter in isolation.
Images rendered with t_1=0 normally look very uncanny.
What are the sources of the image you are using to evaluate all of this?
Every display rendering transform or photographic reproduction system has a toe. This also makes colour grading underneath the DRT behave much better.
I repeated the experiment with Nick Shaw’s new DCTL and I can’t see a problem anymore. Sorry for wasting your time!
I’m currently implementing the tone mapping operator by Kim and Kautz which according to this study is the best performing global tone mapping operator. Please let me know if there is any interest.
In the end, I didn’t like the look of the compression curve. But what I liked was the fact that the compression started at a certain threshold level instead of just from zero. The HDR ER 1000/4000 curve in DaVinci Resolve for example starts compression at approximately 6 nits (when compared to the HDR 1000 curve).
To combine the best of both, I’ve modified Daniele’s function by adding a linear segment to the bottom:
Do we need normalization of the toe parameter? The HDR curves have a higher slope in the shadows so we need a higher toe parameter to compensate for this. (To mimic the behavior we would see if the toe parameter was applied in the very first step to the input.) Does this make sense? I’m not sure, so I’m curious to hear what you think.