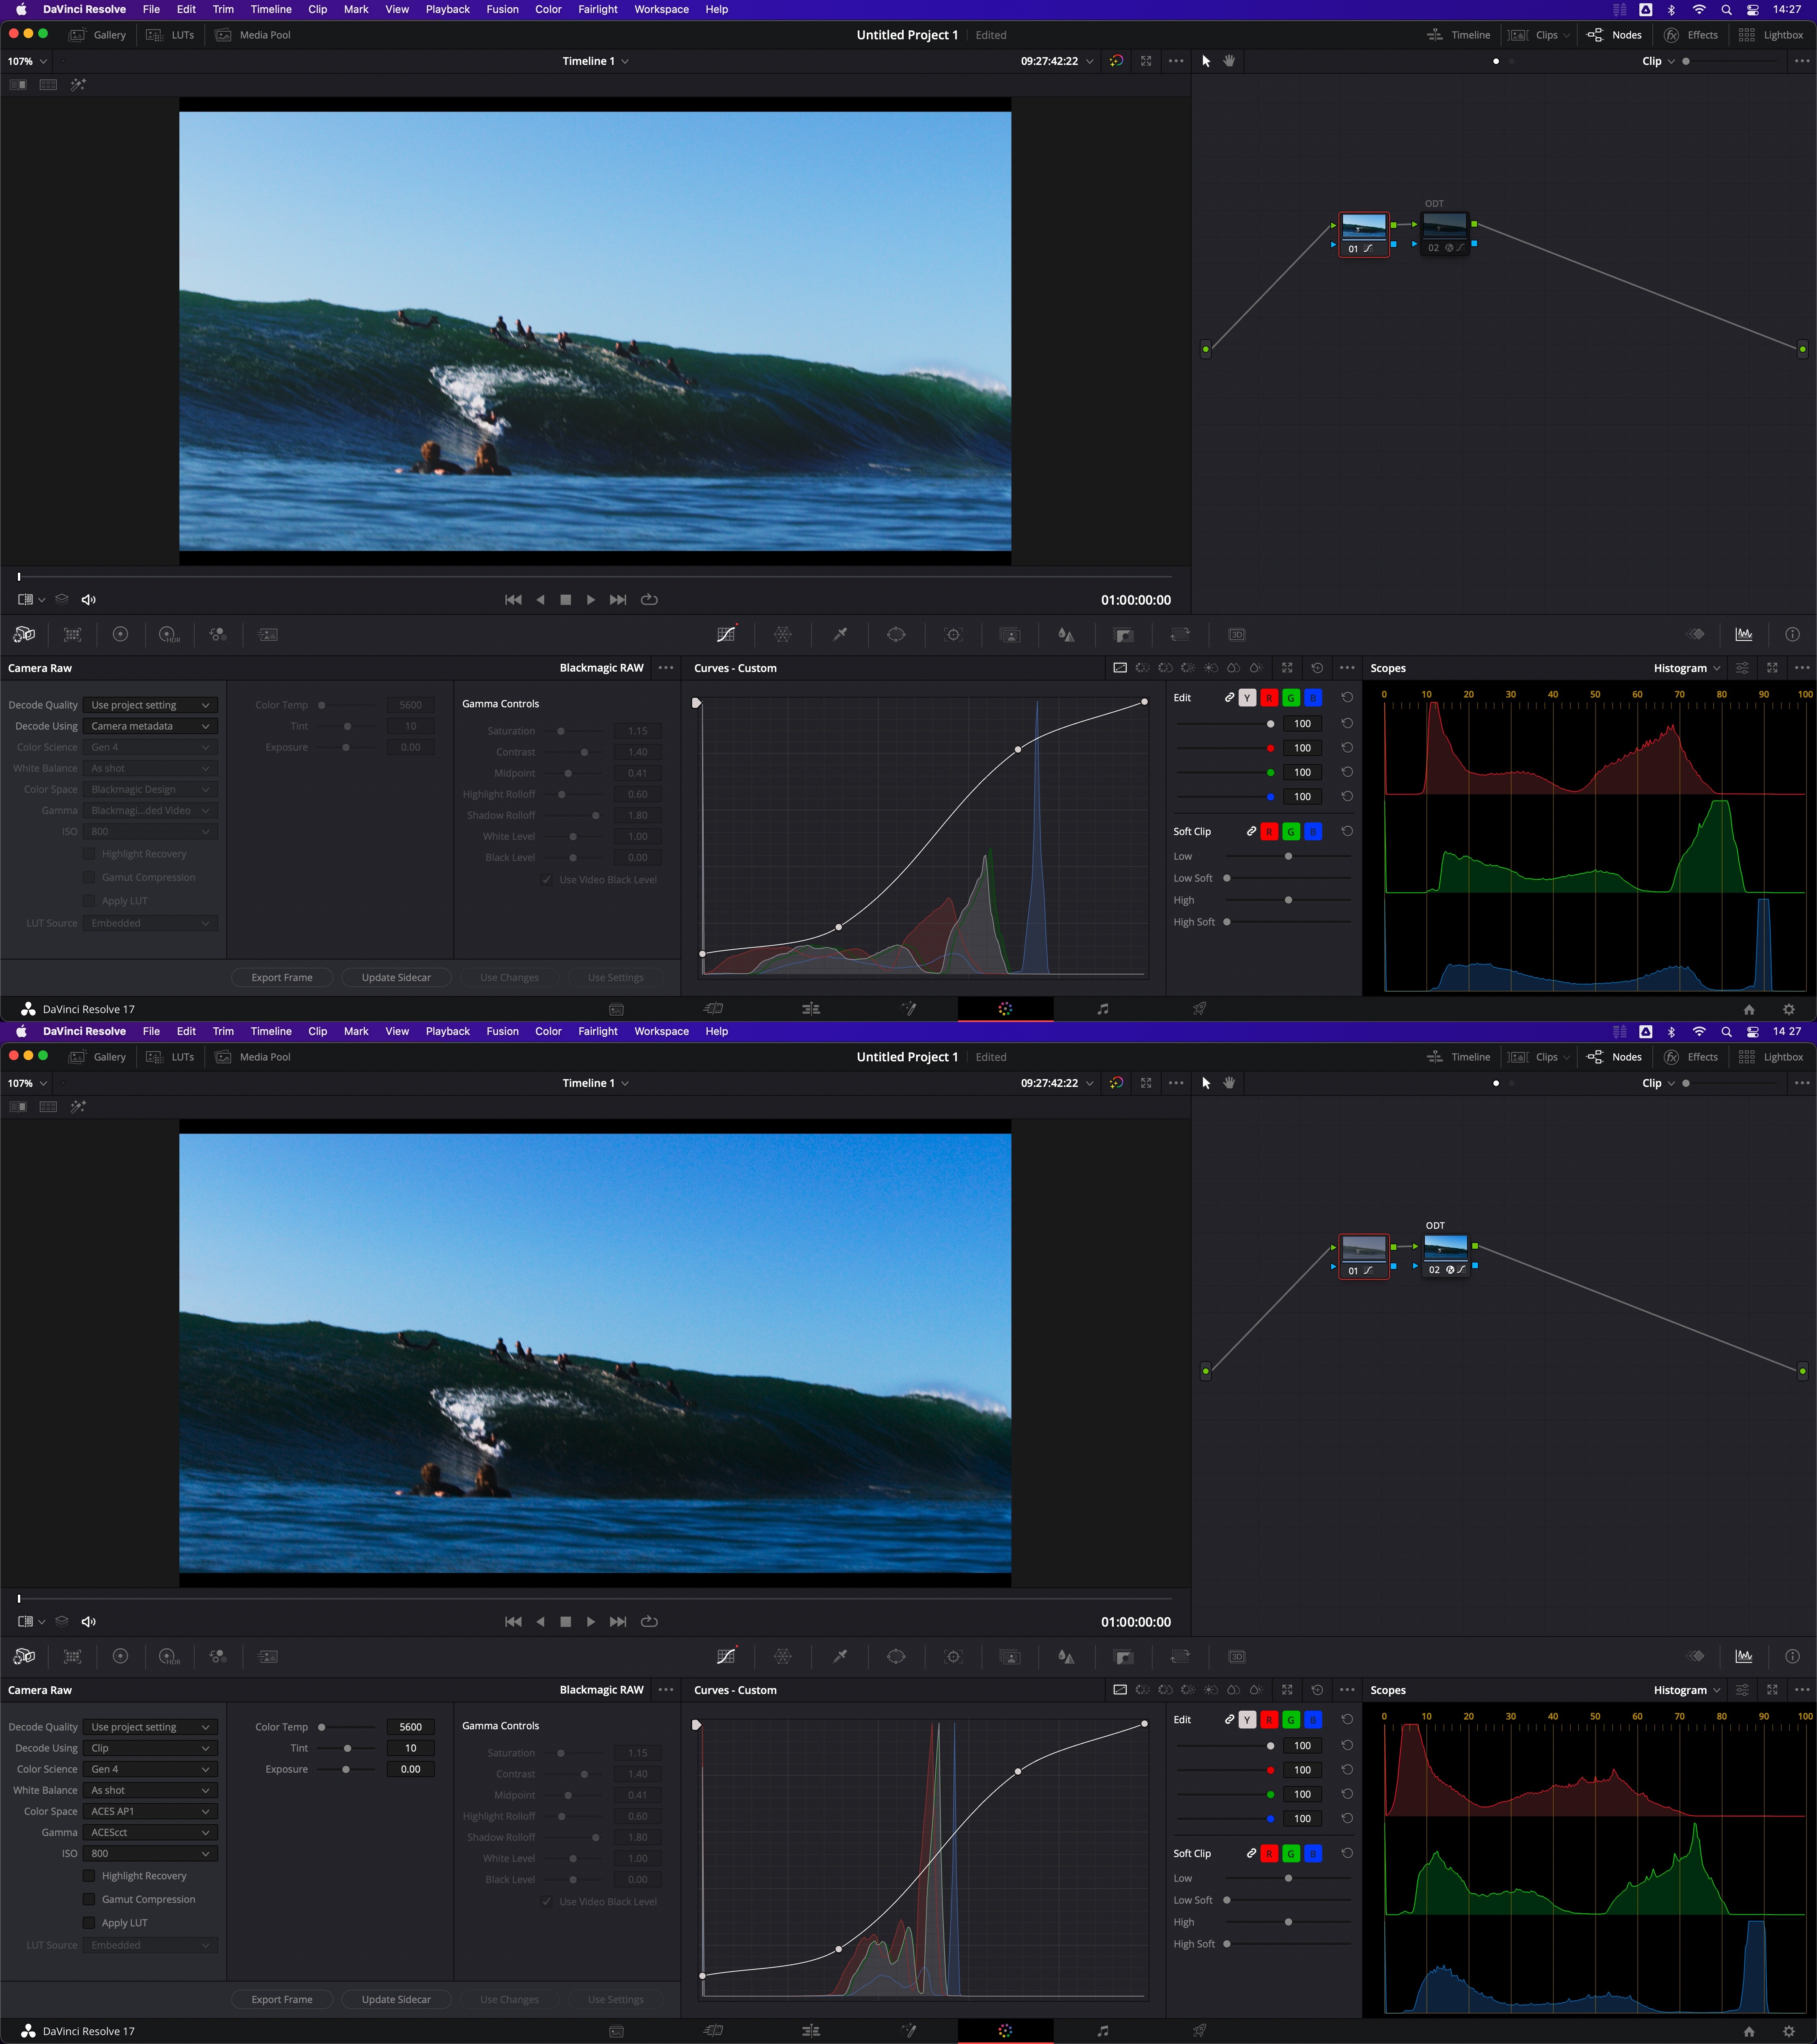
I have been trying to set up a node-based ACES workflow in Davinci Resolve 17.4.4 on macOS Monterey for the past few days without success. The footage I am working with is from a BMPCC6K
Color Science: Gen 5
Color Space: Blackmagic Design
Gamma: Blackmagic Design Film
The following color management workflow (in the project settings) is working as expected:
Color Science: ACEScct (version 1.3)
ACES Input Transform: Blackmagic Design Film
ACES Output Transform Rec.709
Now I am trying to get the same result using two nodes. The project settings are set to:
Color Science: DaVinci YRGB
Timeline color space: ACEScct
The first node on the timeline level has the following ACES Transform:
ACES Version ACES 1.3
Input Transform: Blackmagic Design Film
Output Transform: ACEScct - CSC
Gamut Compress Type: None
And the second node right behind the first node has the following ACES Transform:
ACES Version ACES 1.3
Input Transform: ACEScct - CSC
Output Transform: Rec.709
Gamut Compress Type: ACES reference Gamut compress
I believe the problem is that the ACES Transform effect does not recognize the Blackmagic footage the right way. For example, if I set the Camera Raw settings of this clip to Alexa Wide Gamut Color space and Log C Gamma, and then chose Alexa for the input transform in the first node, I am getting the exact same image as with the ACES color-managed workflow.
Can you help me set up a node-based workflow that works with BMPCC6K footage?
I don’t think the ACES Transform ofx has all the Blackmagic color space / gamma combinations out there. The names they give it tend to be varying too vs what you see in the Raw Tab or the CST which makes things confusing. Might be that only Gen 4 is in it. You could either set your BRAW footage to decode to something useful like directly to AP1 / ACEScct. Or if you for some reason don’t want to, use a CST instead to go from the default source settings to AP1/ACEScct but it’s essentially the same thing.
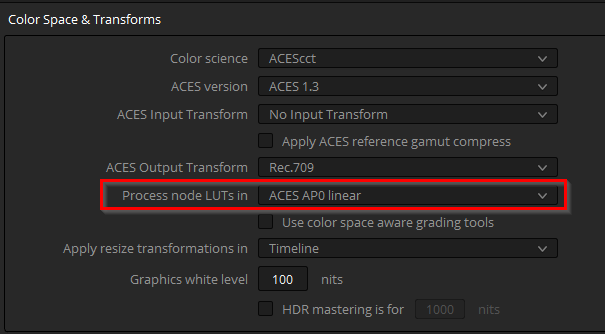
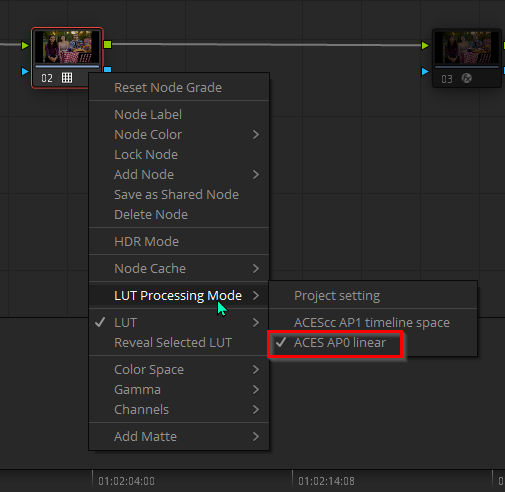
In order for the ACES LMTs to work you need to have the incoming data to be AP0/Linear. This works in ACES managed mode with either Process node LUTs in AP0 Linear set in the project settings or switch to that on the node itself.
Or if you have manual management you need to make sure that you set a working timeline space. Any node you assign a different space and gamma to will convert from that timeline space so if it doesn’t match the incoming data the conversion will be faulty. This applies to using LUTs on a node and also your HDR wheels although you can override the incoming space / gamma there if you want to.
This is not strange btw. Your tested methods just convert color space and gamma from one to the other. It would be strange when any of them gave different results.
The only difference you might have is when you don’t include Chromatic Adaptation because the ACES white point is ~D60. It’s automatic in the ACES Transform, checked by default for the CST and implemented in the BRAW development settings too.
This has been super helpful. I really appreciate it!
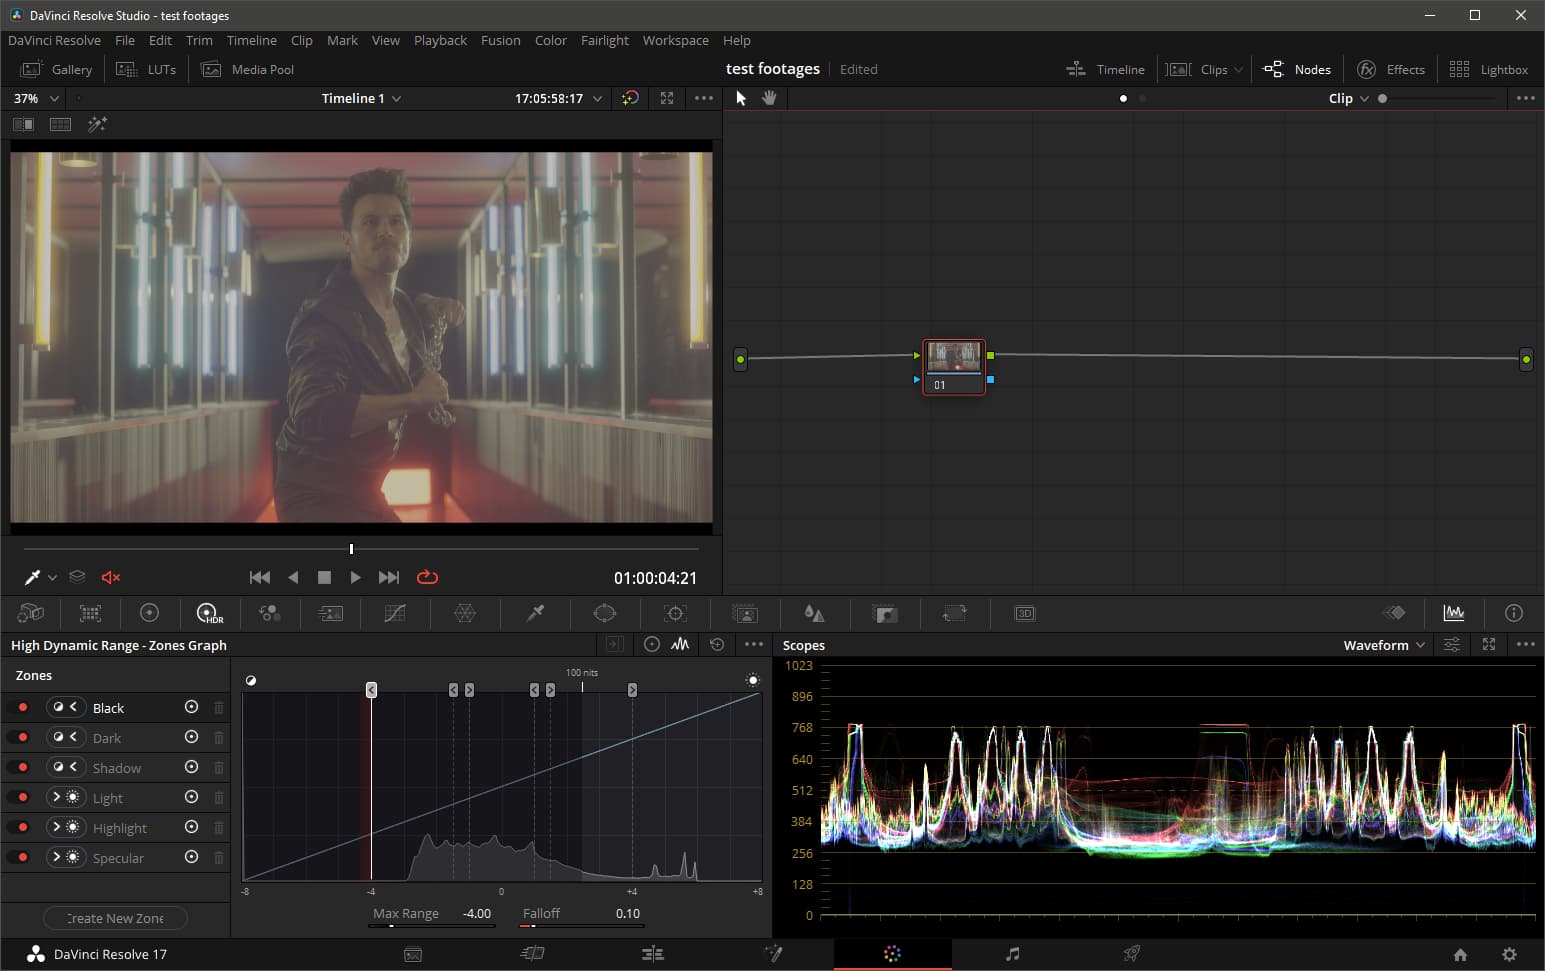
My timeline is set to Davinci YRGB/ACEScct and I have set camera raw to decode the BMPCC6K footage as ACES AP1/ACEScct. I am then using a group post-clip node (set to ACES AP0/Linear) for the Kodak 2383 LMT and the ACES transform ofx as ODT to Rec.709.
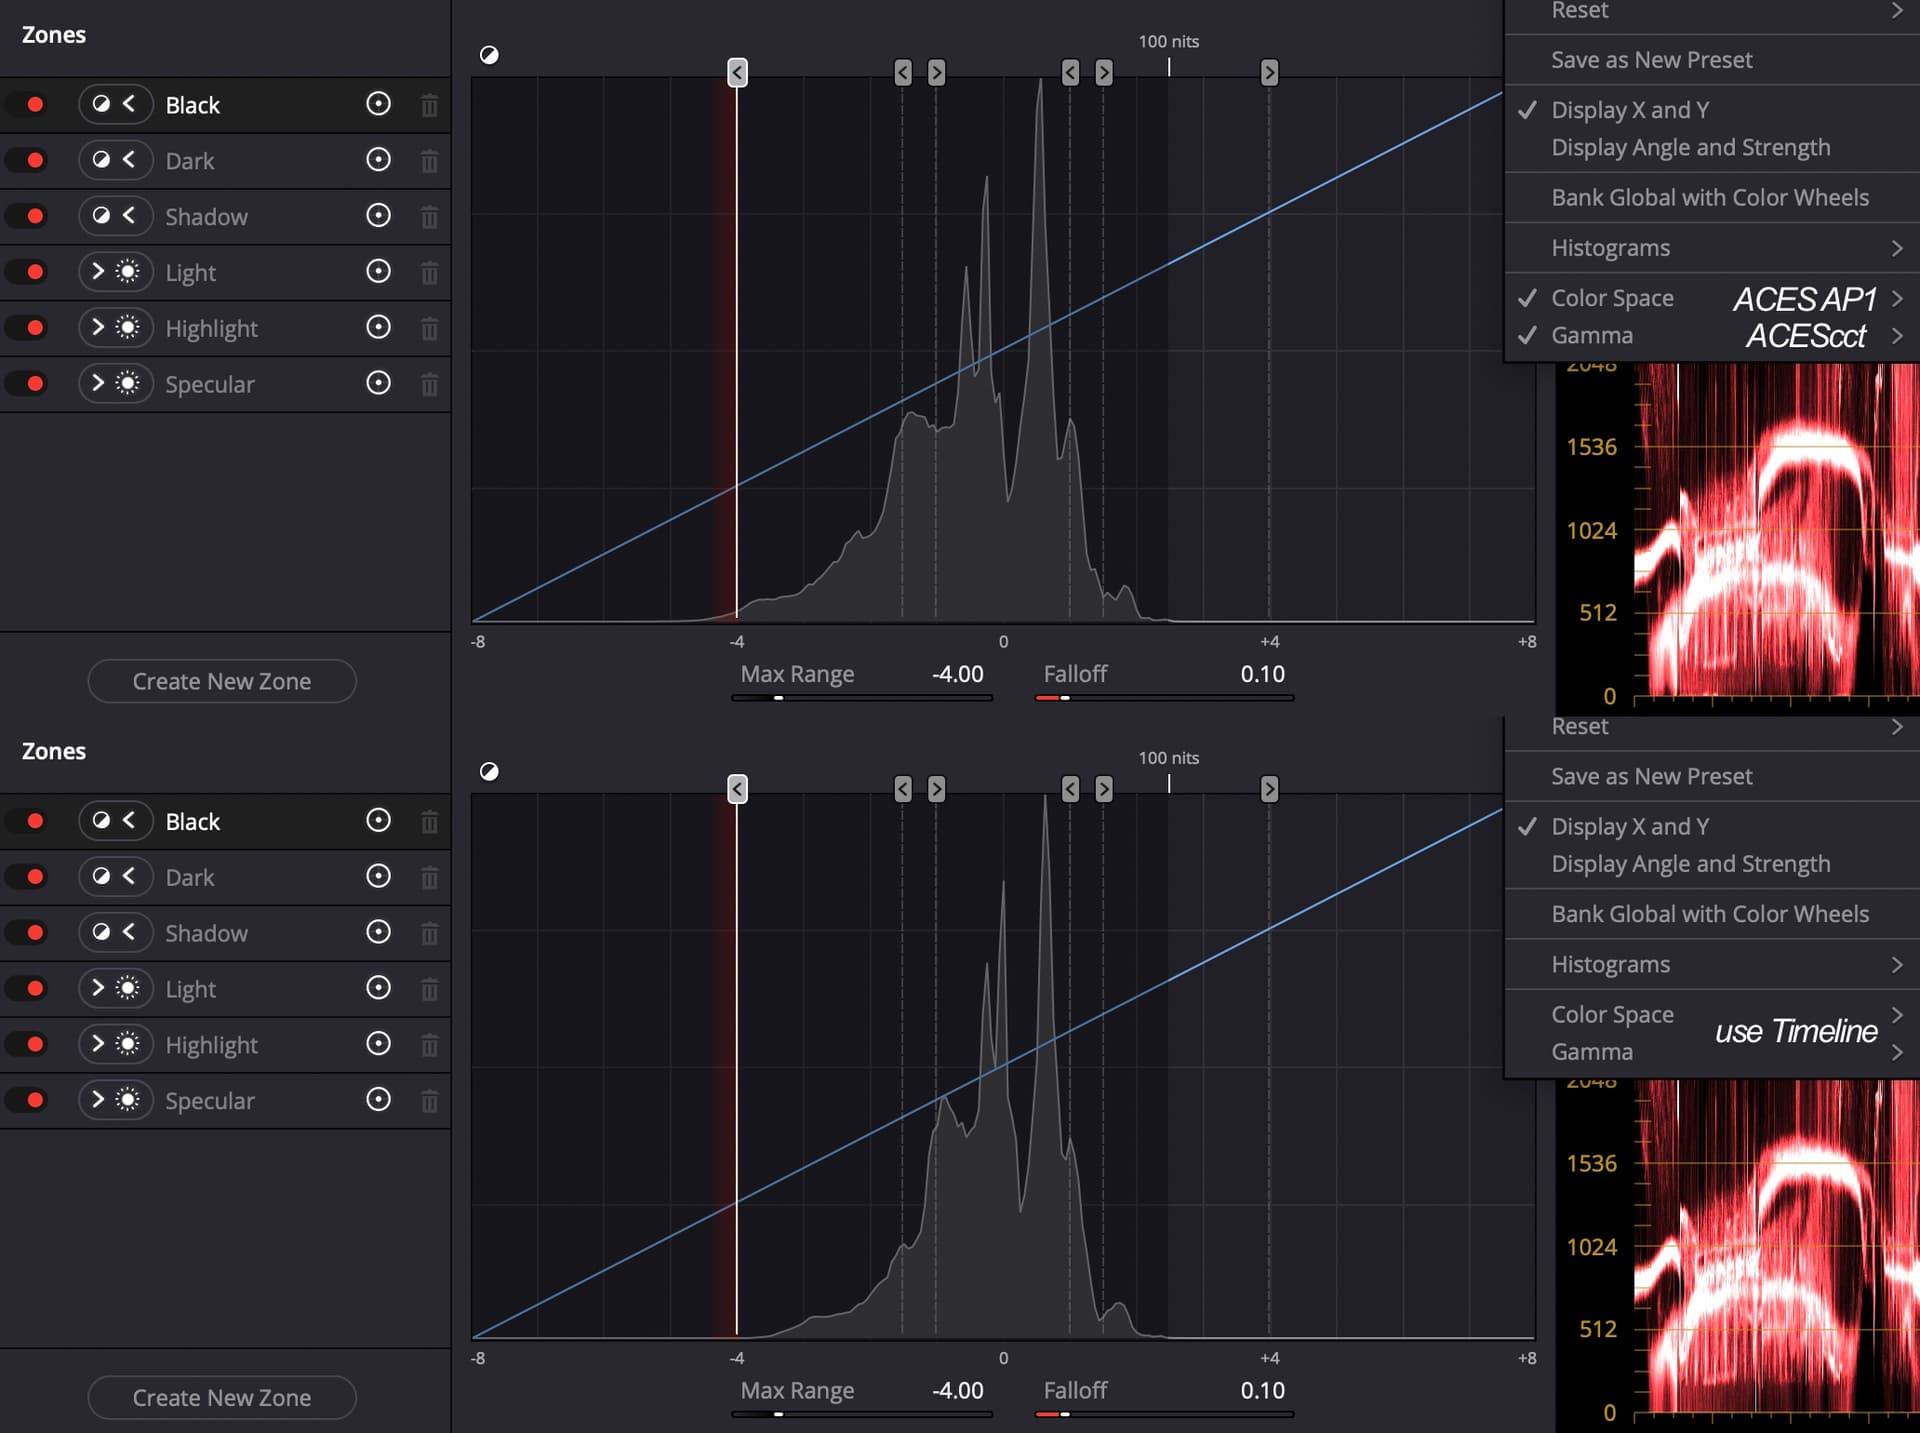
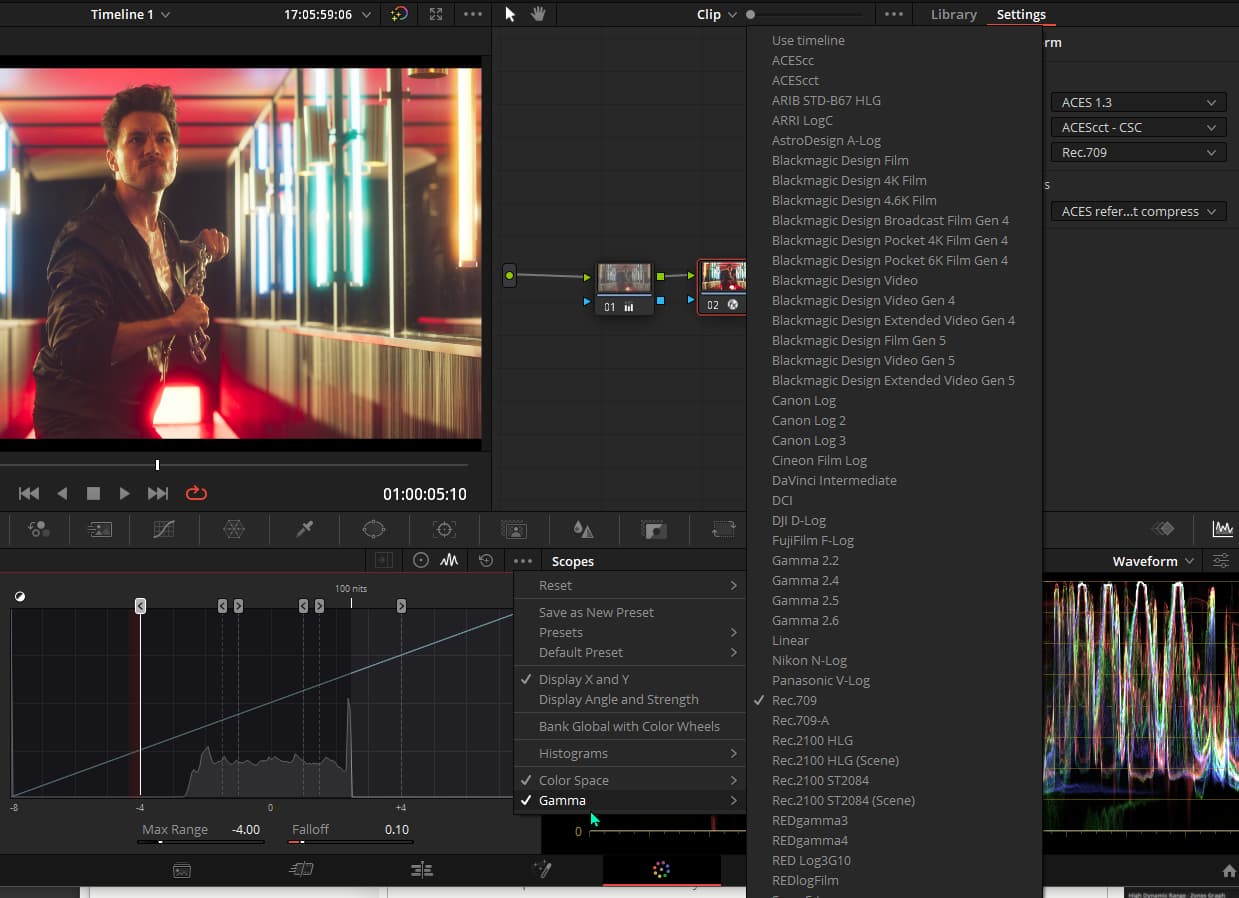
I also just checked the HDR tools. Somehow the zones curve of the HDR tools looks different when they are set to “use timeline” color space and gamma than when set to ACES AP1/ACEScct:
Also looking at the zones curve of the HDR tools in a node after the ODT to Rec.709, the waveform covers the whole range from -8 to +8 stops. I was assuming it should be exactly the other way around. Meaning that before the ODT (where I am in ACES AP1/ACEScct) the zones curve of the HDR tools should go from -8 to +8 stops. While after the ODT (where I am in Rec.709) it should roll of at 100 nits. Or am I missing something here?
Yea that’s the funny part. Because the HDR wheels are reading the data as if it is in timeline space it will think that Rec.709 display white is ridiculously light because it’s treating the data as ACEScct. It doesn’t have awareness of current image state. The claim that it’s colorspace aware is only 50% valid . To rectify that you’d need to manually switch it to Rec.709 but in general there’s not really a reason to use HDR wheels after display conversion unless you’re display out is HDR perhaps. But for an ACES pipeline it’s a big no-no workflow wise.
The other wonky thing is that the HDR wheels need a little image playback scrub before they update the histogram properly.
The HDR wheels are not magic. The ranges are the same you’d have on lift gamma gain just with more slices and customizable position and falloff. Telling it what the current data is just helps divide the ranges in a more useful way which for scene referred data is easier if it’s not compressed to display range if that makes sense.
Can you explain that a little more? I am not really getting it. I thought making the ODT at the timeline node everything before that was in Log? Or is the Davinci pipeline different than that?
What I mean is that Resolve doesn’t know the image state at any given point in the signal path. It only knows what you choose as your timeline (working) color space.
In the context of using project wide management this principle is the same but the ODT / Output DRT is always applied after anything you do in the node tree.
So your timeline can be ACEScct but when you convert it via a node to something else, do stuff and go back Resolve doesn’t see this. Neither can it see that you have an ODT it just keeps assuming ACEScct as the data for what the HDR wheels read unless specified differently.
Thanks for your explanation. It does make sense this way. But why would the HDR wheels zone curve differ before and after my ODT node?
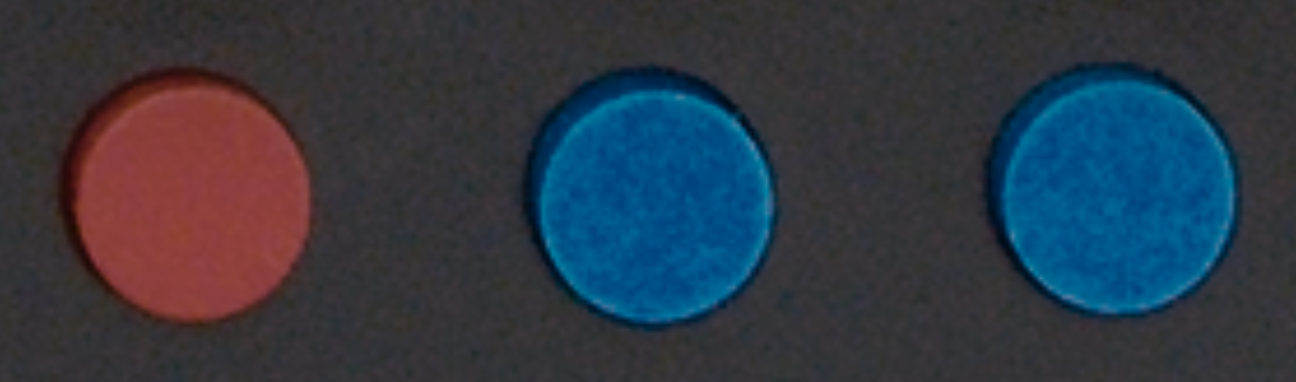
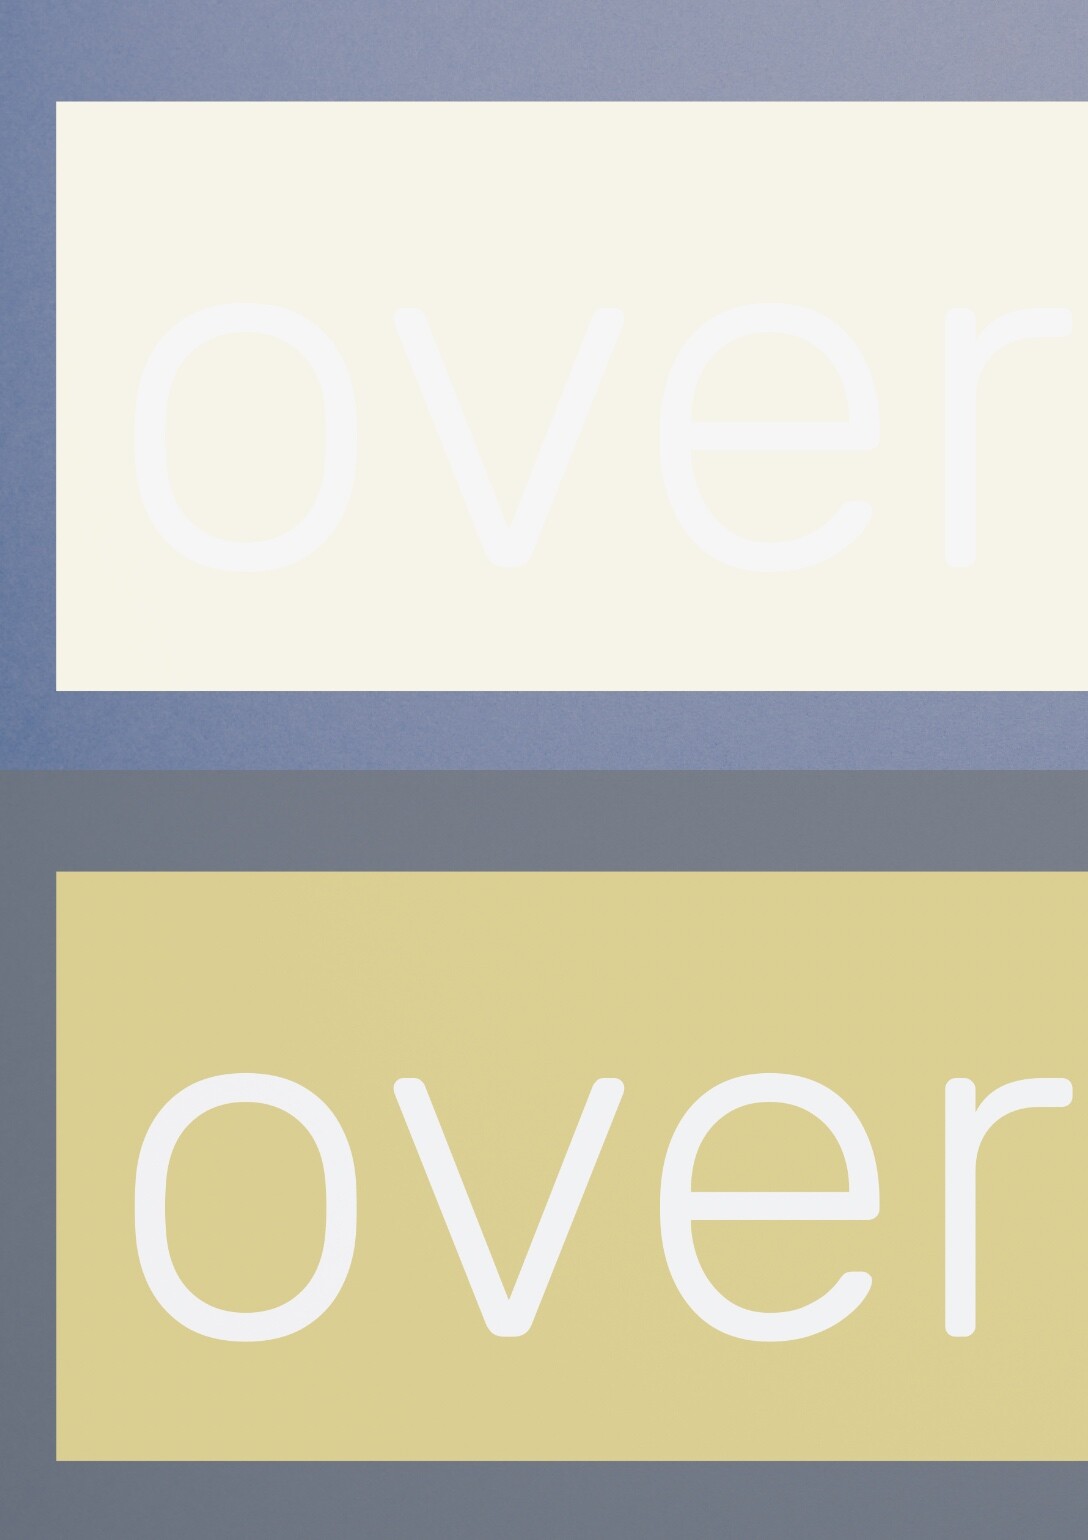
I just noticed that the background colors of low opacity text+ in my timeline are now off. They should look like the lower half of this image but look like the upper half:
Is there a setting for text+ to show background colors correctly in a Davinci YRGB/ACEScct timeline? For example my yellow becomes white over an opacity of around 50%.
What do you mean differ? If you apply an ODT to go to display the data changes. The HDR wheels still assume the data is in the timeline space if you don’t overwrite the settings. That’s why it will look like it’s ridiculously bright and dark in the histogram.
Fusion text shouldn’t change appearance with manual management because there’s no fixed output transform at the end of the pipe. But anything you place in your node tree on the timeline section will be applied to the entire timeline so any clip gets affected not just camera footage. So if you need to set up a project including elements that you want to exclude from the ACES pipeline you need to put the ODT either on the clips or on groups.
Sorry for my late reply. Moving the ODT from the timeline level to group post-clip solved my text+ issue. Thanks!
I am still not getting why the zones curve of the HDR tools in a node after the ODT to Rec.709 covers the whole range from -8 to +8 stops while it rolls of at 100 nits in a node before the ODT (where I am supposed to be in AP1/ACEScct.
But I have a way bigger problem atm
I wanted to start building my look for this project (see current settings below) and notice that the custom curves are behaving differently than I am used to. When trying to set up a “normal” S curve I can only touch the curve ever so slightly before the image gets way too contrasty and the blacks get crushed even with my black point set above 0. Do you have any idea why this is?
It doesn’t always roll off at 100nits in ACEScct, that just depends on the data in the footage. This is a clip with bright lights and there you see it reaching higher.
Not sure how to explain it better than I already did above. Resolve doesn’t take conversions on nodes into account when it’s generating the HDR wheel histogram. It just reads the values in the image from the current node and maps them according to what they are told to read them as. So if your timeline is set to ACEScct but you read after the ODT the black and white levels are very different. Resolve will still consider the data as ACEScct and draw it like it’s super contrasty. To make it read properly you can change it to Rec.709 and you’ll see that it’s packed up to 100nits.
Again don’t forget to scrub playback a little otherwise the readout doesn’t update.
I don’t know. You shouldn’t have any unexpected behaviour with curves in ACEScct. It will roughly feel the same as ‘normal’ grading on log material. Maybe double check your colorspace journey and see if the node you are using it on isn’t converted to a differen’t color space/gamma. You also don’t want to use any adjustments after the ODT. Maybe super logical for you already but mentioning just in case.
It’s not more or less of the available dynamic range. The histogram is merely a helper to divide your HDR zones in a useful way. That “maxed out” map you see after your ODT is actually incorrect for that matter. A camera doesn’t have 16 stops of dynamic range. More close to 13 stops in the ideal scenario and what you capture is generally less too. -8/+8 on that graph doesn’t mean black and white. It means -8/+8 stops below/above middle grey(0 in the middle of graph). Name a camera that can do that .
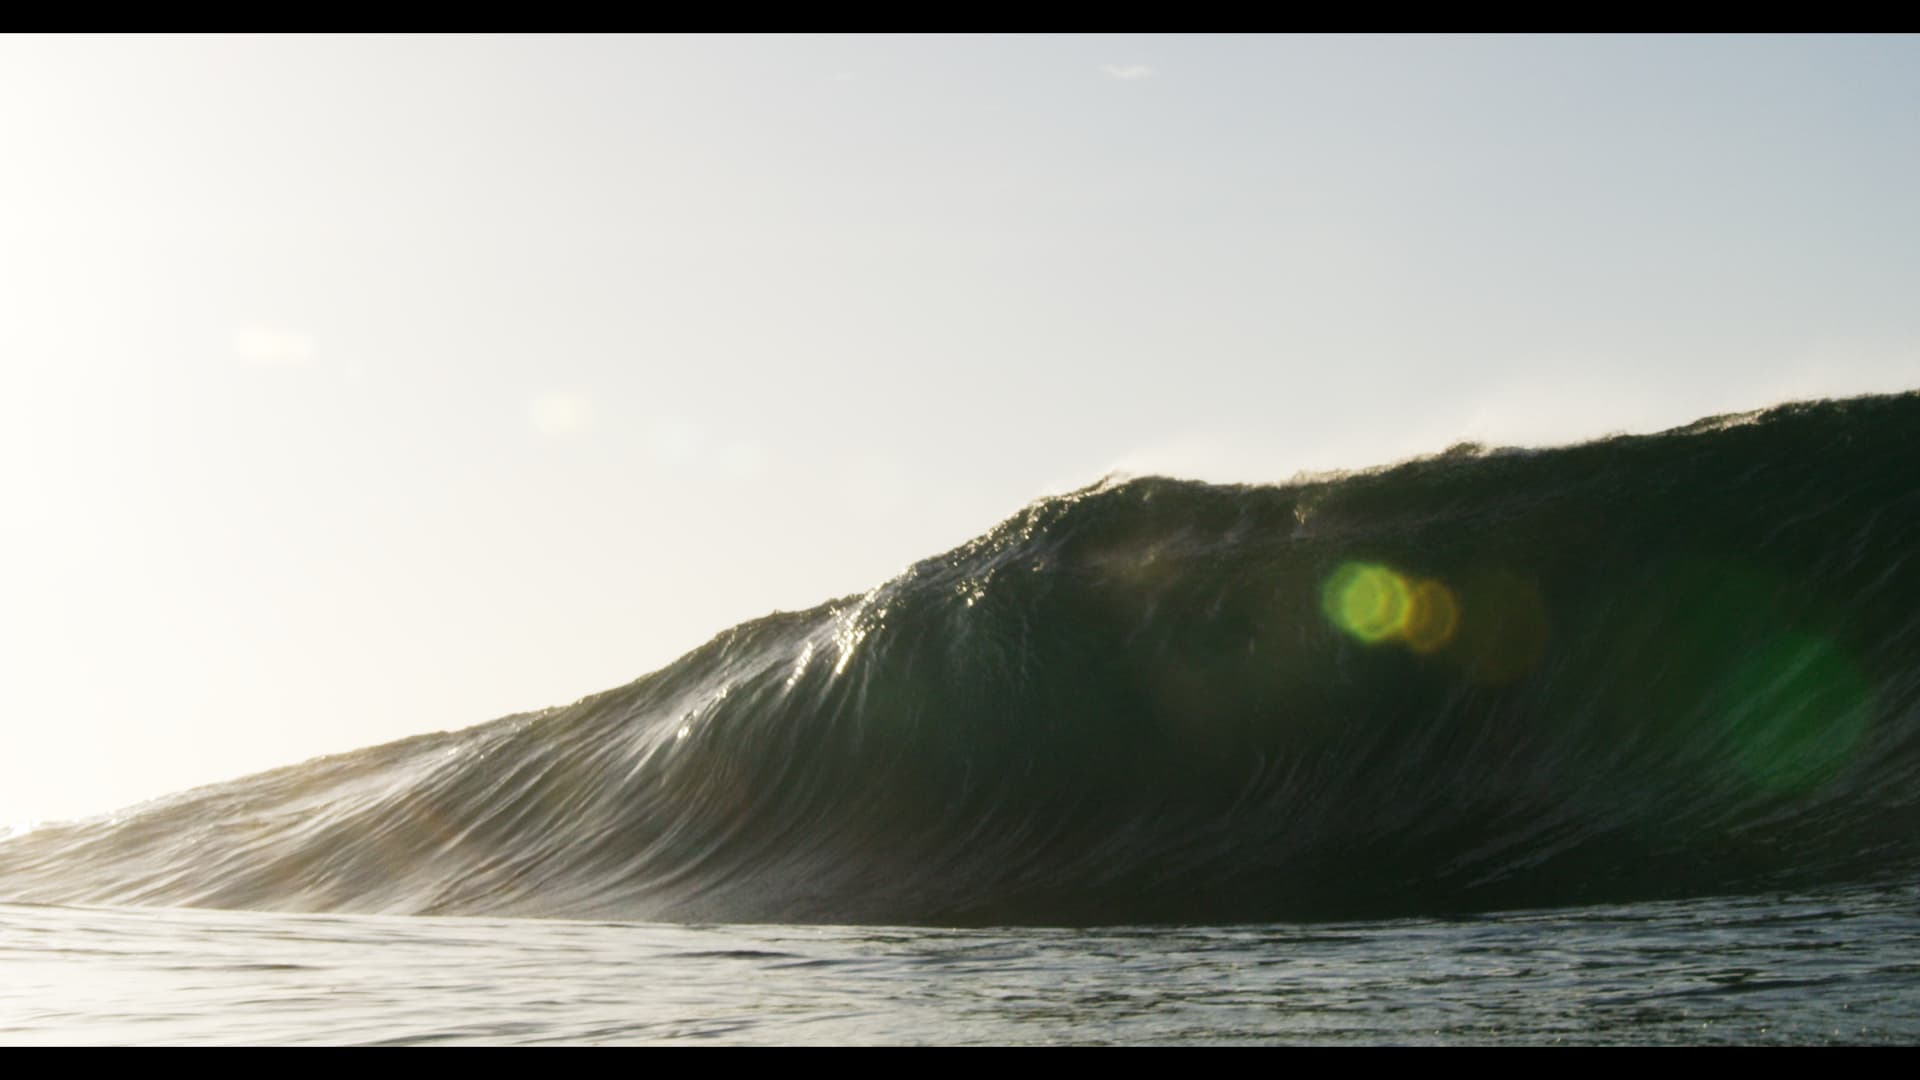
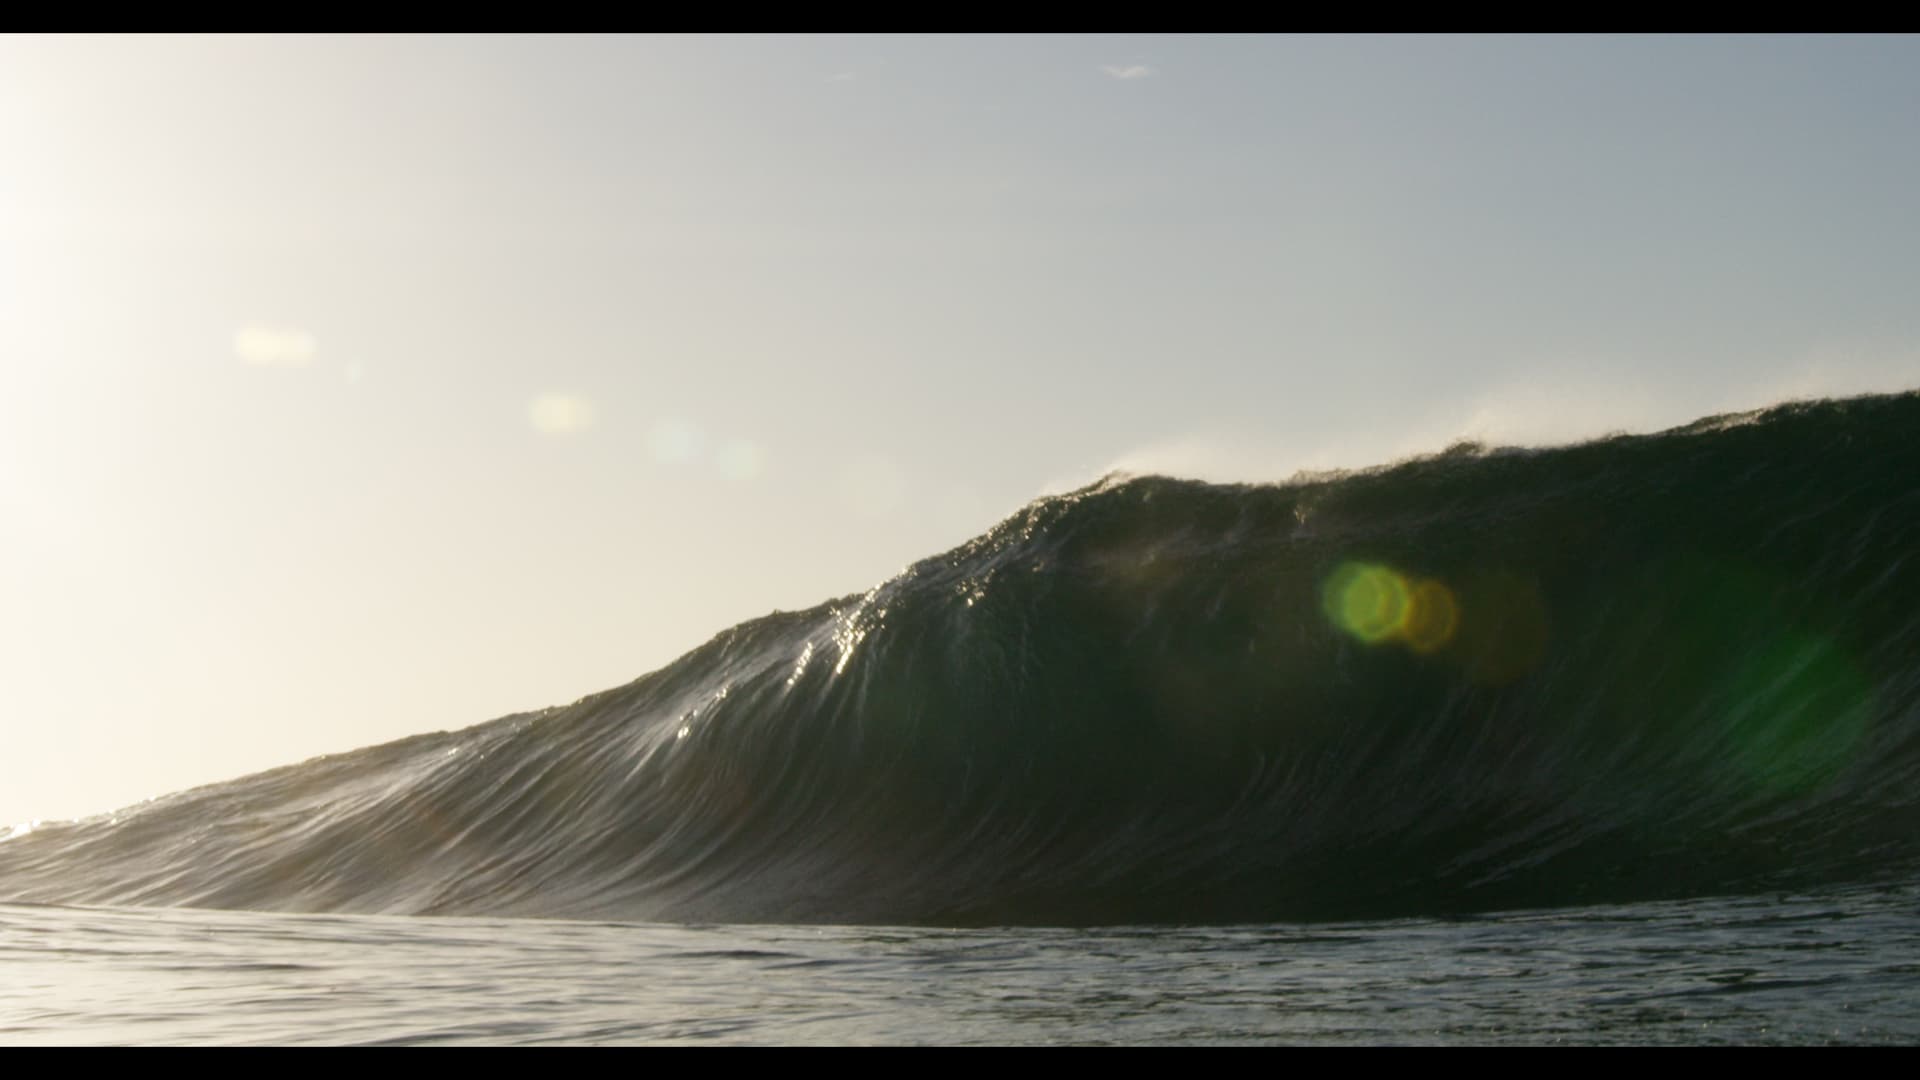
You can’t expect the same visual result with two different setups. What settings did you use for your DaVinci managed? The DaVinci DRT or IPP2 works different from that of ACES but in general they do the same. So if you’d make your timeline color space also ACEScct for the other setup you’d get a similar result. Below is a .braw clip with the same curve applied where one is ACEScct timeline in DaVinci Managed and the other a manual setup with decode to ACEScct and ODT node after the curve.
Thanks again for your help. I really appreciate it!
Yes, I was suspecting that the visual represents after the ODT is off. It makes more sense to me now.
Sorry, it seems like I accidentally deleted a paragraph of my last post. I was not expecting the same visual results but a similar behavior of the curves. Adding points in the custom curves and only slightly moving them around immediately crushes my image, even though the black level is set above 0. I am guessing that this could be because I did the tests on an old MacBook Air screen.
The goal is to grade 4K rec.709 content for Youtube only using a MacBook Pro 14″ XDR display. I consider buying an EIZO CG2730 WQHD as a reference monitor. After watching How to calibrate 14" & 16" MacBook Pro Liquid Retina XDR (MiniLED) Displays for Pro Color workflow! - YouTube I am thinking that using both the internal XDR display and the CG2730 in reference mode with the settings below should get me mostly consistent colors - even without Ultrastudio. Do you have any experience with such a setup?
MacOS 12.2.1 display settings color profile for both displays: Rec. ITU-R BT.7009-5
Color Science: DaVinci YRGB
Timeline color space: ACEScct
Output color space: Rec.709
CST node from Log to ACEScct and ODT from ACEScct to Rec.709 with ACES reference gamut compress
Export color space and gamma tags: Rec.709 Gamma 2.2
A proper reference monitor helps a lot of course but if one setup ‘works’ on an average display so should the other. If changing curves ever so slightly really crushes data there might be a Resolve bug or GPU issues. A MacBook Air doesn’t have a dedicated GPU of which support is limited so I would try this on a proper system with either an AMD or nVidia GPU. Again like my example the difference should be minimal, at least not crushing or heavy compressing.
I don’t have any experience with the XDR macbooks but they do offer reference modes that should be calibrated pretty well out of the box.
If timeline, output, and Eizo set to Rec.709 either gamma 2.2 OR 2.4
→ File is tagged as 1-4-1 in Quicktime and contrast is off
→ Upload is tagged as bt709 / bt709 by YouTube and contrast is blown
So far I got the closest match between the MacBook, Eizo, Quicktime, and YouTube with the following settings (but the YouTube upload looks a bit washed out):
Check „Use Mac display color profiles for viewers“
Eizo white point, gamma, and gamut set to BT.709
Timeline and output color space: Rec.709-A
Color space and gamma tag: same as timeline
Am I doing something wrong using these settings? I am guessing the ACES ODT is gamma 2.4? Is there anything wrong with using this in a Rec.709-A timeline and output?