Workflow questions for converting BRAW to ACES for VFX

Hello there, I’m new to the forum so please let me know if I posted in the wrong category or need more specific information. I’m also a student and very new to the ACES workflow, so thank you for putting up with my perhaps silly questions and uninformed terminology. :slight_smile:

I’m trying to convert footage I shot on a Blackmagic Pocket Cinema Camera 6k in BRAW to ACES, so I can use it in Nuke, Photoshop and Blender for a visual effects project.

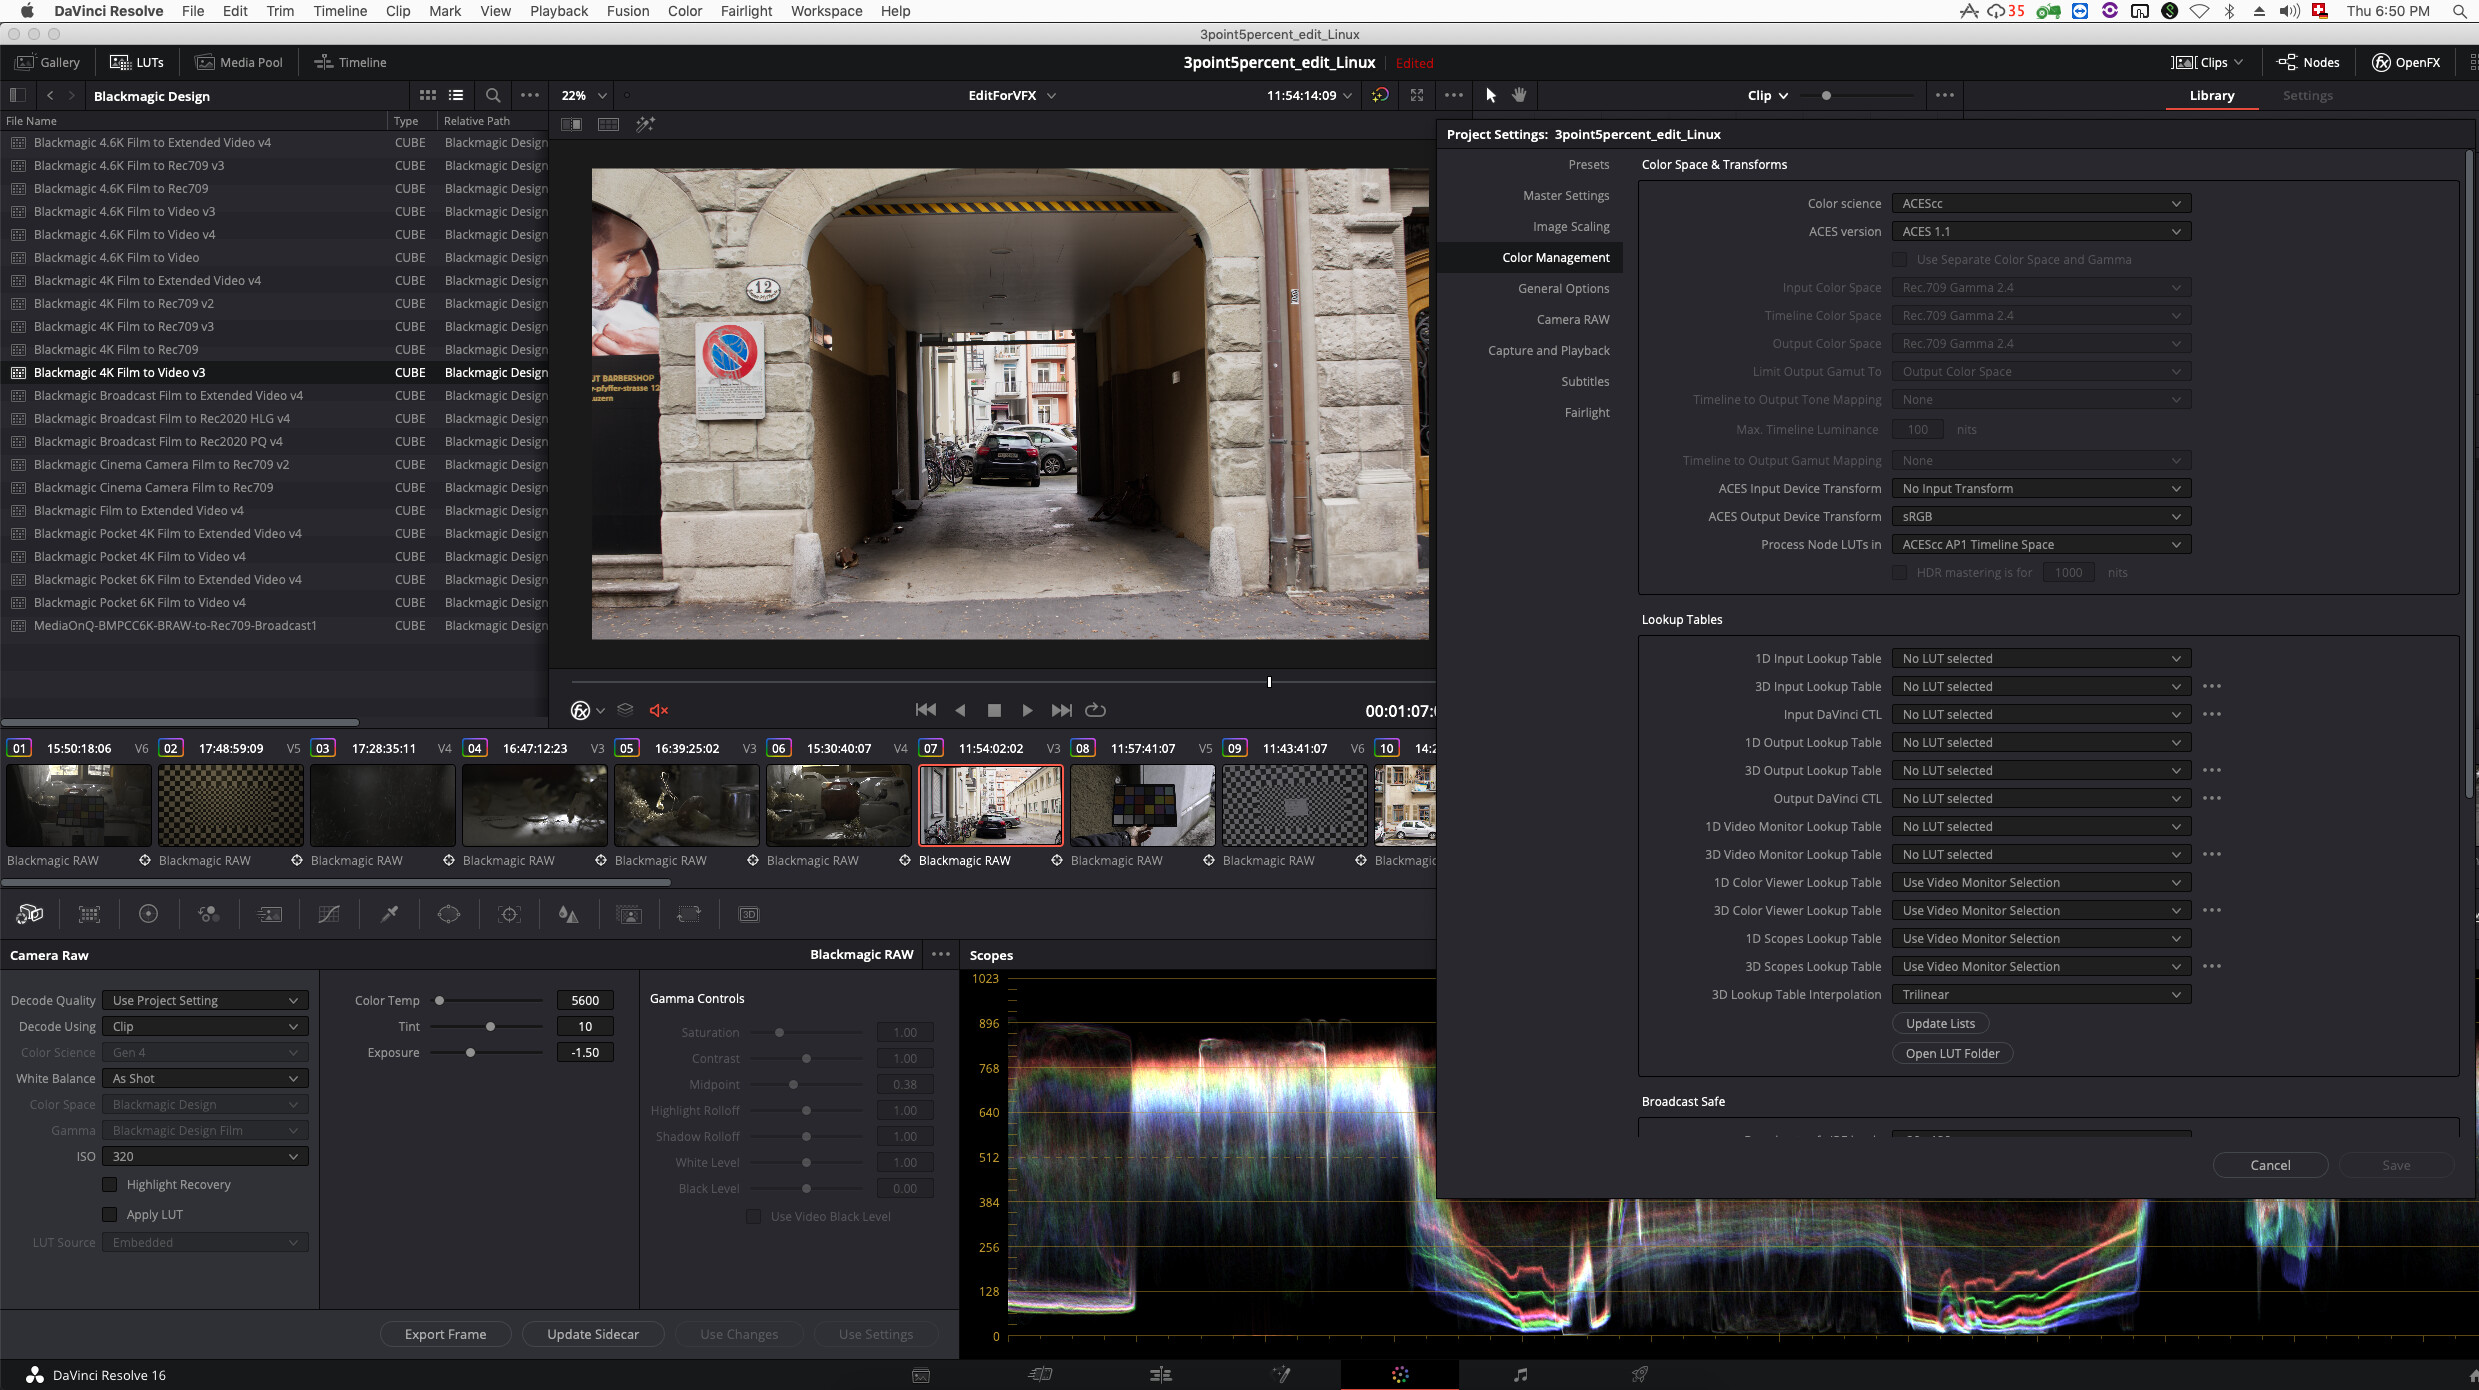
I am interpreting the Braw directly as ACES in Davinci Resolve (with the color management set to ACES 1.1) using the RAW Converter. I also tried another route, by having Resolve set to the default color science and applying an ACES Transform LUT after interpreting the BRAW as Rec.709 Footage. Both gives the same result, so I assume the process does what it is supposed to do. But looking at the result through an ODT for my monitor (ACES to sRGB), the result looks very contrasty / high contrast. The situation on the location did definitely not have that much contrast - it was an overcast day with almost no direct sunlight, so the difference between darkness and highlights shouldn’t be that extreme in my opinion. The colors also look very saturated, more than I would expect a “neutral look” to look like:

Of course I could adjust the exposure slider while working in Nuke, so I can both judge the highlights as well as the dark parts of the image. But for the final grade I want to “compress” both ends anyways, so I get an image that both has detail in the shadows as well as the highlights. Because of this, working with an ACES file that looks way too contrasty throughout the entire pipeline is very annoying - especially because part of my workflow involves Blender, which does not support adjusting the preview exposure for camera backgrounds.

I wonder if I am doing something wrong with the conversion from RAW to ACES, which I doubt because both transformation processes I tried gave me the exact same result. But if this really is the case, and my ODT just displays highlights and shadows that constrasty - is there a way I can work around this, so I can actually have a “proper” preview for the less contrasty and more “filmic” look my final grade will reflect? Ideally, this would not be another view transform or LUT that I put on before my ODT, because this makes things in Blender and Photoshop more complicated and needs to be set up in every application. I wonder if it is possible to convert a somewhat “pre-graded” footage to ACES and use this as my plate for the VFX work. I am aware that this might mess with the way ACES is designed to work, but would this maybe be a workable solution for a single-person VFX project?

So the most important question I need to find an answer to is how to properly convert my footage from the BMPCC 6k BRAW to ACES and how to make the result look less “crushed”, so I have something more workable where I can judge the highlights as well as the shadows at the same time.

Thank you so much for your time and help!

All the best from Switzerland,
Lukas

1 Like

Hi Lukas!

The process you´re doing using the ACES workflow and BRAW is correct, Resolve is applying the proper IDT ( Input Device Transform) and you selected your ODT. I prefer to use ACES CCT, some people use ACES CC.

Now, the workflow depends on what you´re trying to achieve, but, for a proper roundtrip, I would export with the output transform off as an EXR Half uncompressed so you can have a proper ACES file that can be used in any other software. The EXR file without the ODT will keep all the detail in the shot, so you can grade it later without losing any data.

The contrasty result should reflect the color space and gamma as interpreted by the workflow, but, from your post, there´s more detail there than it shows, so try grading the shot the way you would like it to be. If the data is there, ACES will not lose it.

2 Likes

I think this is just how the IDT was designed. Your workflow sounds correct, so if you don’t like the look you have to grade it and find a way to track the grade throughout the process. I would build a Resolve node pipeline of: IDT > convert to ACEScct > primary grading > convert to ACES > RRT > ODT. Bypass the RRT+ODT when you render EXR. When you bring these files into other applications, you only need to apply an RRT+ODT and you will have the same look.

1 Like

Hi Gustavo and Elliott
Sorry for the late response. Thank you for your thoughts and input!

Apparently the conversion to ACES is working how it is supposed to, and the thing I need is some way to grade the footage as a temporary look that I can apply throughout the pipeline for preview, without actually “baking it in” to the footage.

Elliott, you mentioned that I can use an RRT for this, if I correctly understand the workflow you described. How exactly can I work with an RRT, I was having a hard time finding information that actually helped me understand the concept and how to use it in a workflow. Are there some online resources to find free “premade” RRT looks to “flatten” my image for preview purposes? I imagine the RRT to work almost like some kind of preview LUT that I add right before my ODT. Is that correct? How can I go about creating one myself and how can I use it in applications like Nuke and Blender, is this something I have to configure as part of my OCIO config, or do I set this manually in every application?

Sorry for the confused questions, and thanks to everyone for your help. It is very much appreciated! :slight_smile:

I think you are confusing the terms LMT and RRT. The RRT is a fixed component of ACES. In Resolve when you select an “Output Transform” for any SDR output (HDR is a bit different) Resolve is in fact applying the RRT and an ODT, so the “sRGB Output Transform” is in fact made up of the RRT + sRGB ODT. But the RRT is not an end user facing component of ACES, so is hidden from you.

An LMT is a “Look Modification Transform”, or “Look Transform”, which is essentially a grade applied across multiple shots, or an entire show. It is applied after any per shot grades, and before the Output Transform. That is what you would use to create a lower contrast look. This may be as simple as an ASC CDL that reduces contrast and saturation, or can be a complex “Show LUT” grade. In theory an LMT should be transported as a CLF (Common LUT Format, which can contain a “chain” of ASC CDLs, 1D/3D LUTs and other transforms) file, but since CLF is not currently universally supported it is usually necessary to use another LUT format or CDL, as supported in your app. If your app supports OCIO, you can use that to apply the LMT.

1 Like