As both @nick and @priikone have noticed, I’ve made a dopey mistake with my BlueBar example.
I’d accidently selected: Input - ARRI - Curve - V3 LogC (EI800)
As opposed to : Input - ARRI - Curve - V3 LogC (EI800) - Wide Gamut
on my OCIOColorSpace node.
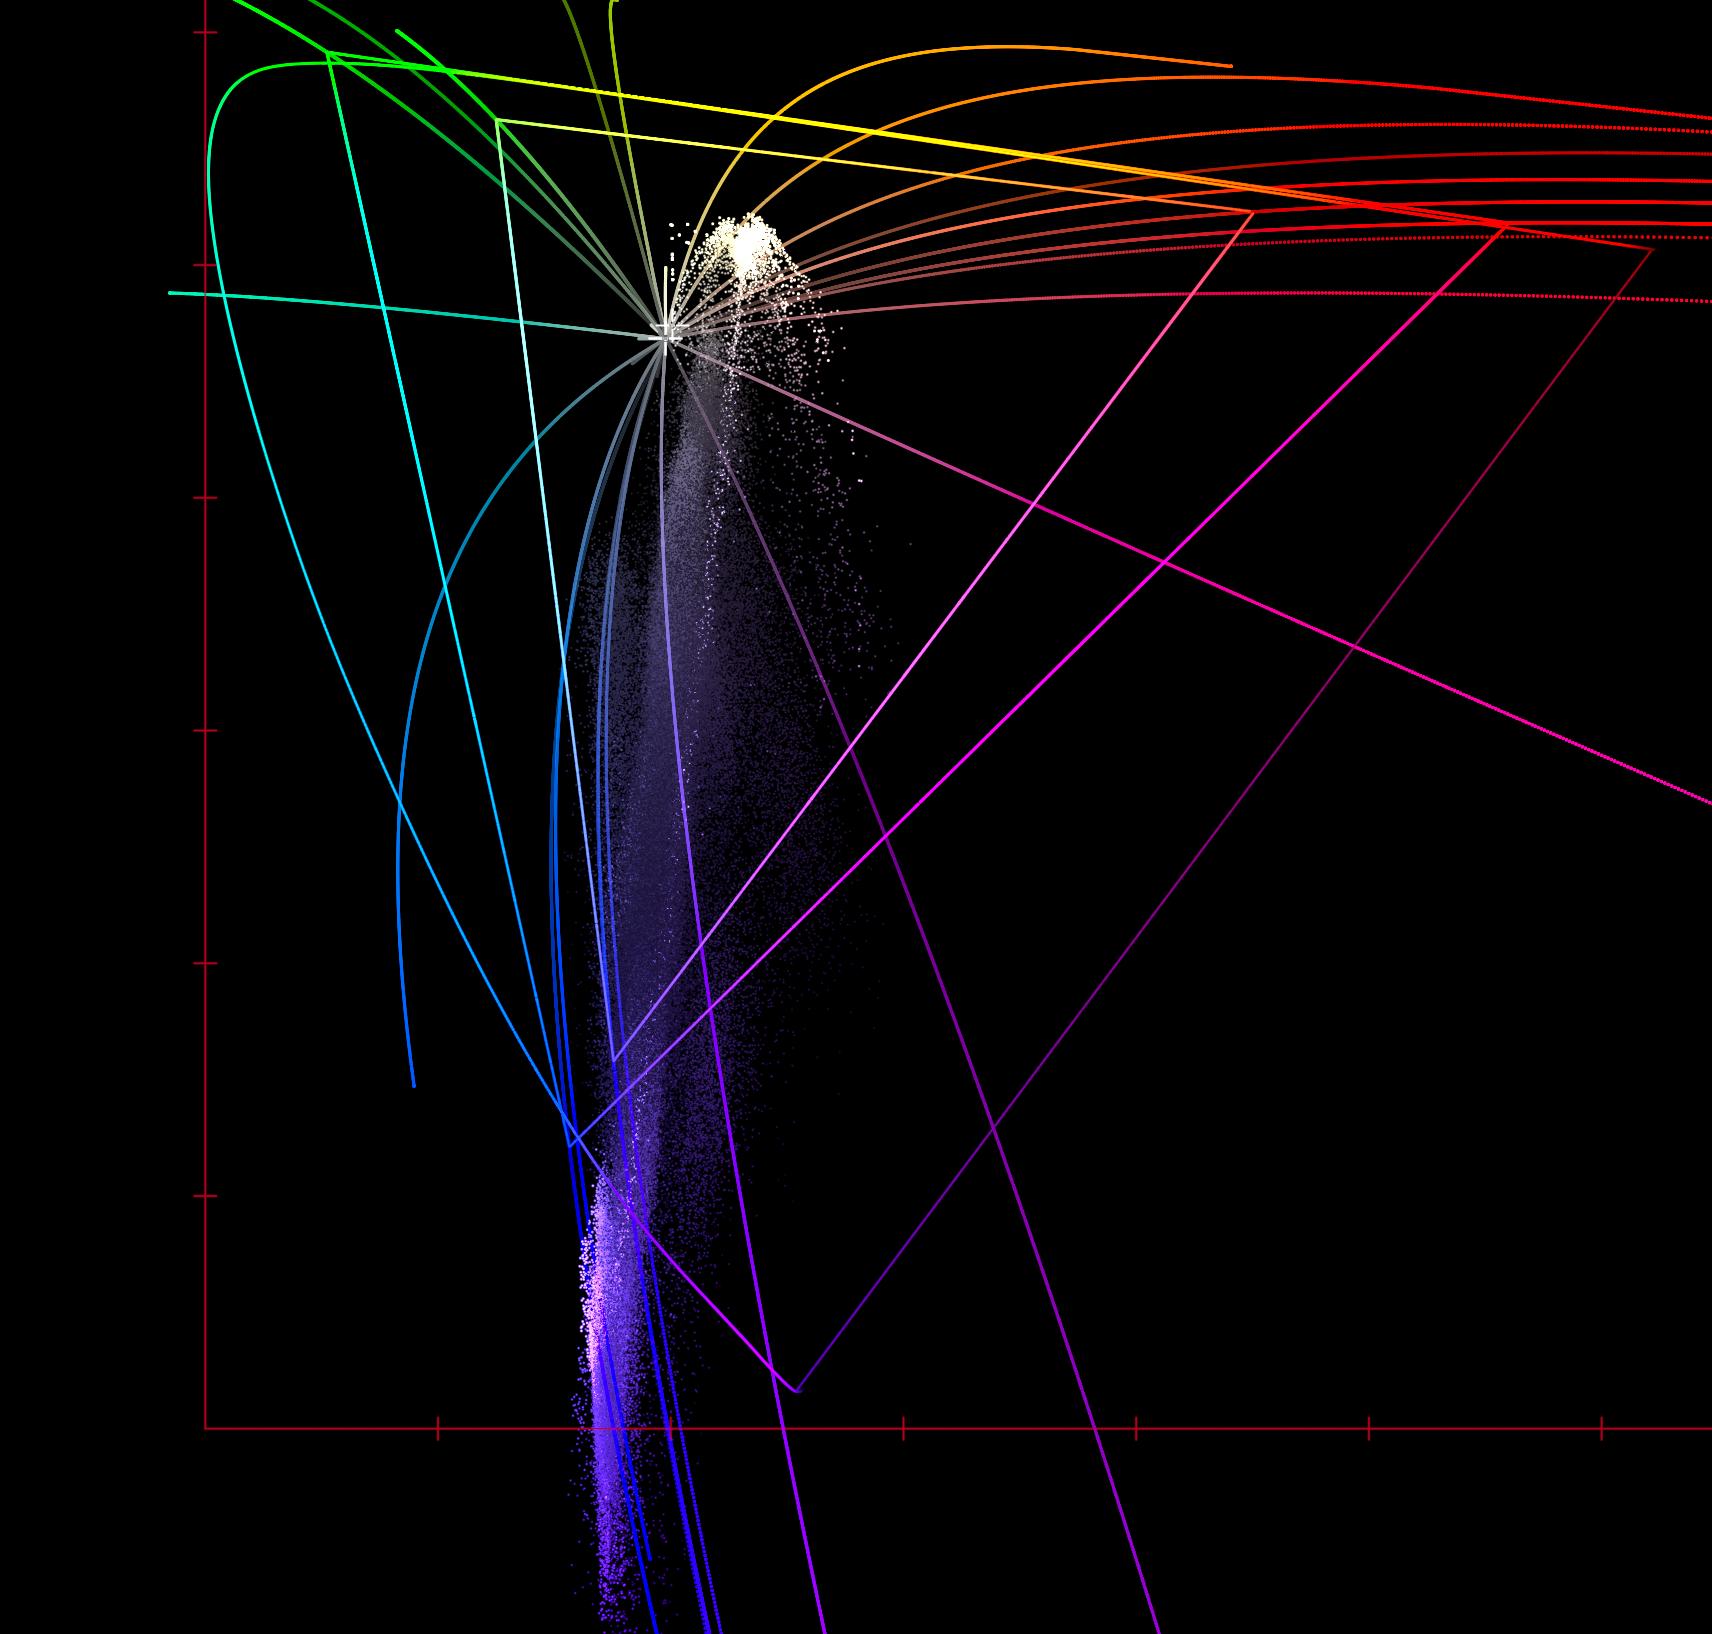
Below is without the RGC.